To decrease PDF file size without visible quality loss, downsample images to 150 DPI, strip metadata, and remove embedded fonts. The best tool depends on your needs: Adobe Acrobat Pro for professional control, Mac Preview for free native compression, Smallpdf for quick online jobs, Cisdem for batch processing, or OCR automation for developers.
Why Is Your PDF So Large? The Pre-Compression Checklist
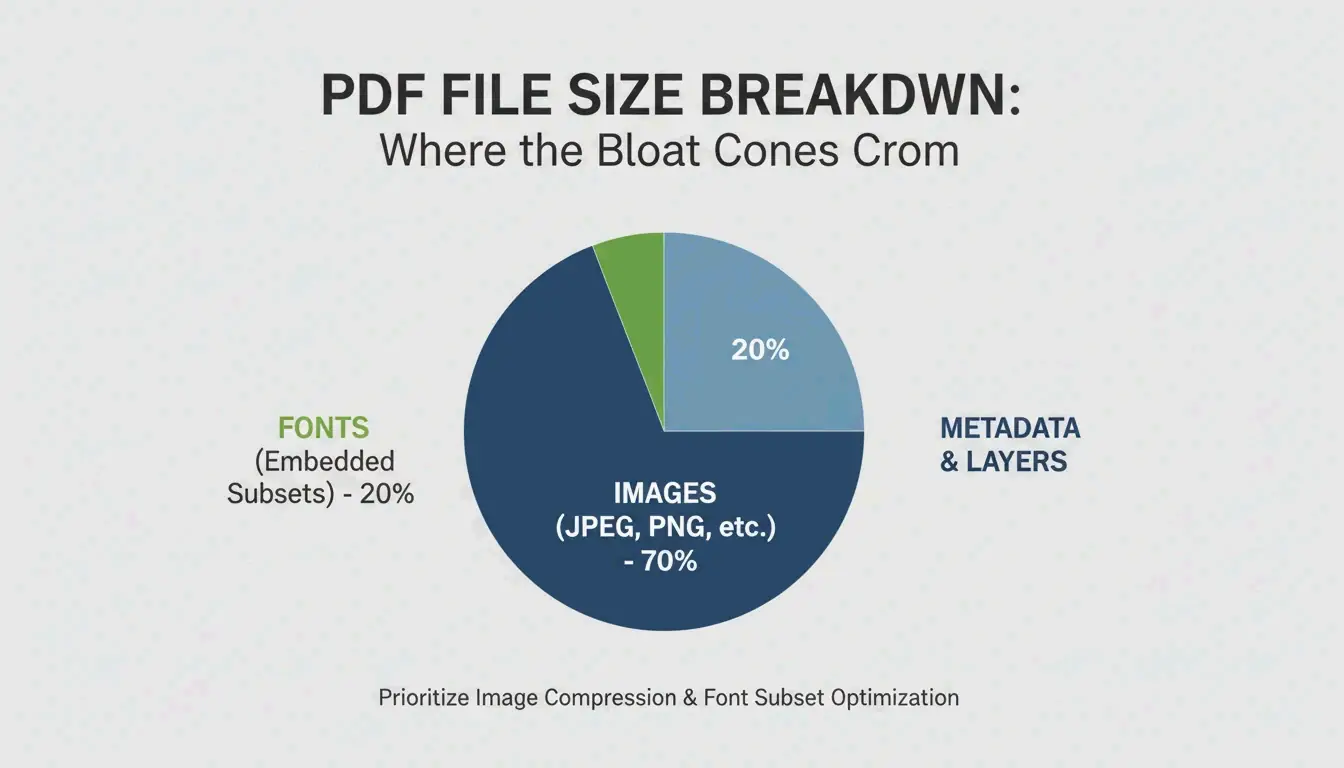
According to Smallppt, high-resolution images often account for over 70% of a PDF’s total size.
| Size Contributor | Typical Impact | Fix |
|---|---|---|
| High-res images | 70%+ of file size | Downsample to 150 DPI |
| Embedded fonts | Several MB | Subset fonts instead of embedding full files |
| Hidden layers / metadata | Varies | Strip via “Optimize PDF” tools |
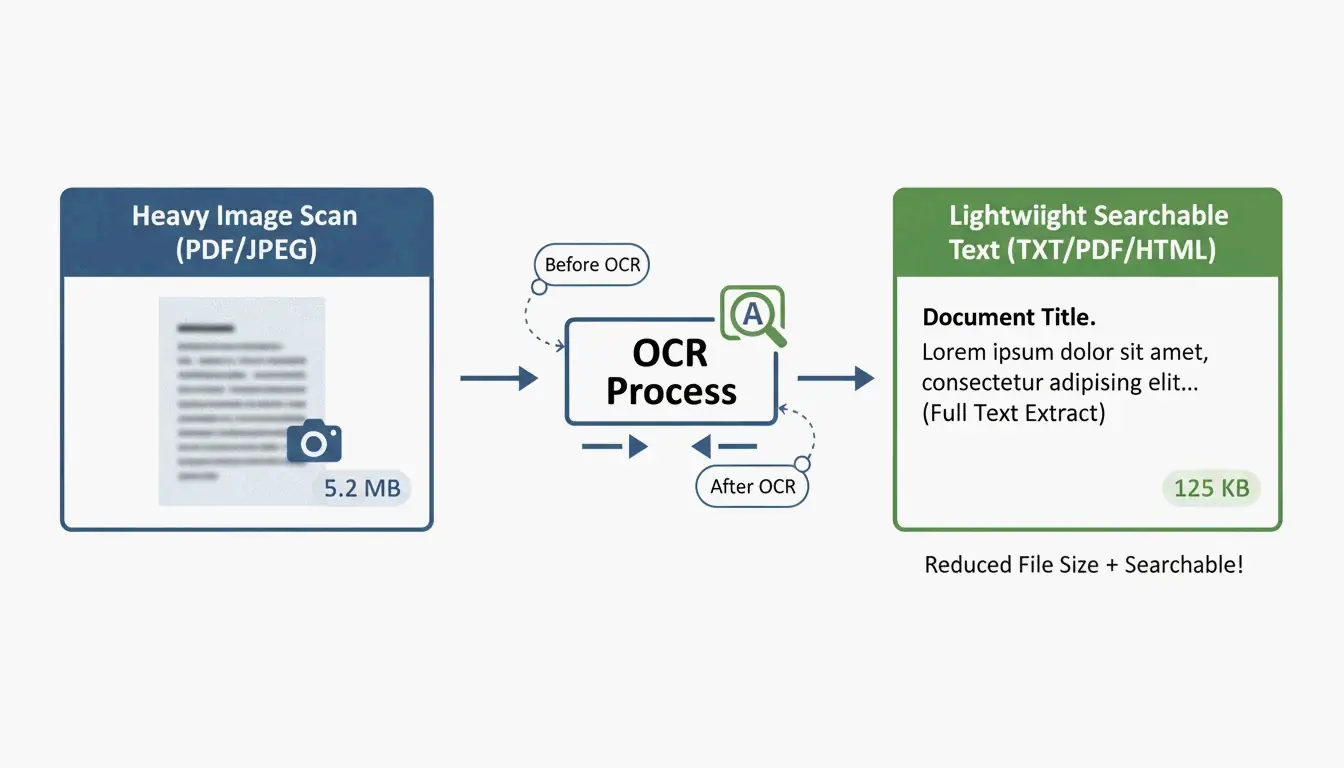
| Unoptimized scans | Very large | Run OCR, replace with text layer |
| Version history | Accumulates over edits | Clean with “Discard Objects” |
The 150 DPI Standard
| Use Case | Recommended DPI | Quality |
|---|---|---|
| High-quality print | 300 DPI | Professional print output |
| Email / web sharing | 150 DPI | Sweet spot — sharp on screens, small files |
| Basic web reference | 96 DPI | Minimum for readability, maximum savings |
5 Methods to Reduce PDF Size
Method 1: Adobe Acrobat Pro — Professional Control
The gold standard for precise optimization:
- Open PDF → All Tools > Compress a PDF
- Choose Advanced Optimization (PDF Optimizer)
- Downsample images: Set color/grayscale to bicubic at 150 DPI for images above 225 DPI
- Discard Objects: Clear hidden layers, old bookmarks, unused form fields
Batch performance tests show professional desktop software processes up to 100 pages per second depending on hardware.
Method 2: Mac Preview — Free and Built-In
No extra software needed on macOS:
- Open PDF in Preview
- Go to File → Export
- In the Quartz Filter dropdown, select “Reduce File Size”
- Click Save
Warning: Cisdem notes the default filter can be too aggressive, making images blurry. For complex files, it can even increase file size.
Ghostscript: The Power-User Alternative
For better results on Mac, use Ghostscript via Terminal:
gs -sDEVICE=pdfwrite -dPDFSETTINGS=/ebook \
  -dCompatibilityLevel=1.4 -dNOPAUSE -dQUIET \
  -dBATCH -sOutputFile=output.pdf input.pdf
-dPDFSETTINGS |
Target Use | Typical Reduction |
|---|---|---|
/screen |
Web/screen (72 DPI) | ~95% |
/ebook |
Medium quality (150 DPI) | ~90% |
/printer |
Print quality (300 DPI) | ~50% |
Method 3: Online Tools — Smallpdf and pdfFiller
Fastest for one-off jobs, no installation:
- Upload your document to Smallpdf or pdfFiller
- Pick compression level — Basic (balanced) or Strong (maximum shrink)
- Download the optimized file
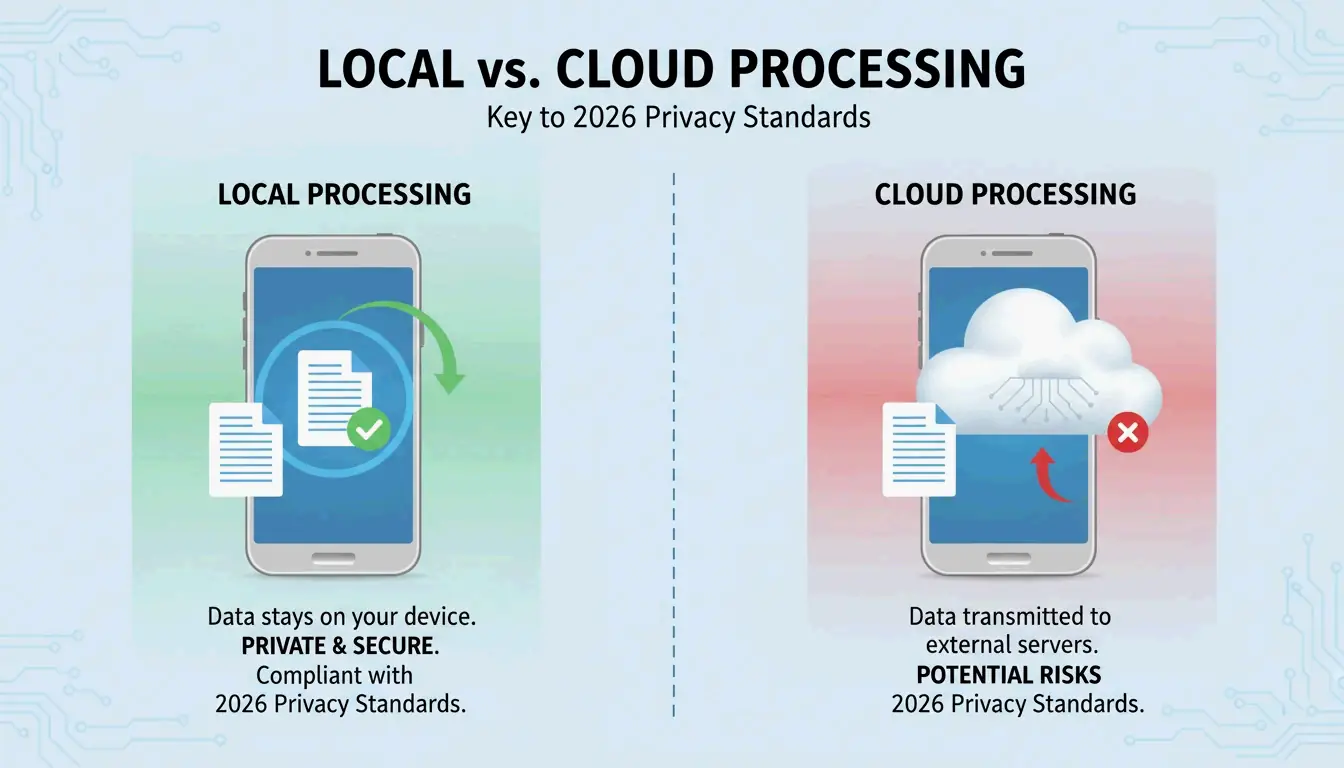
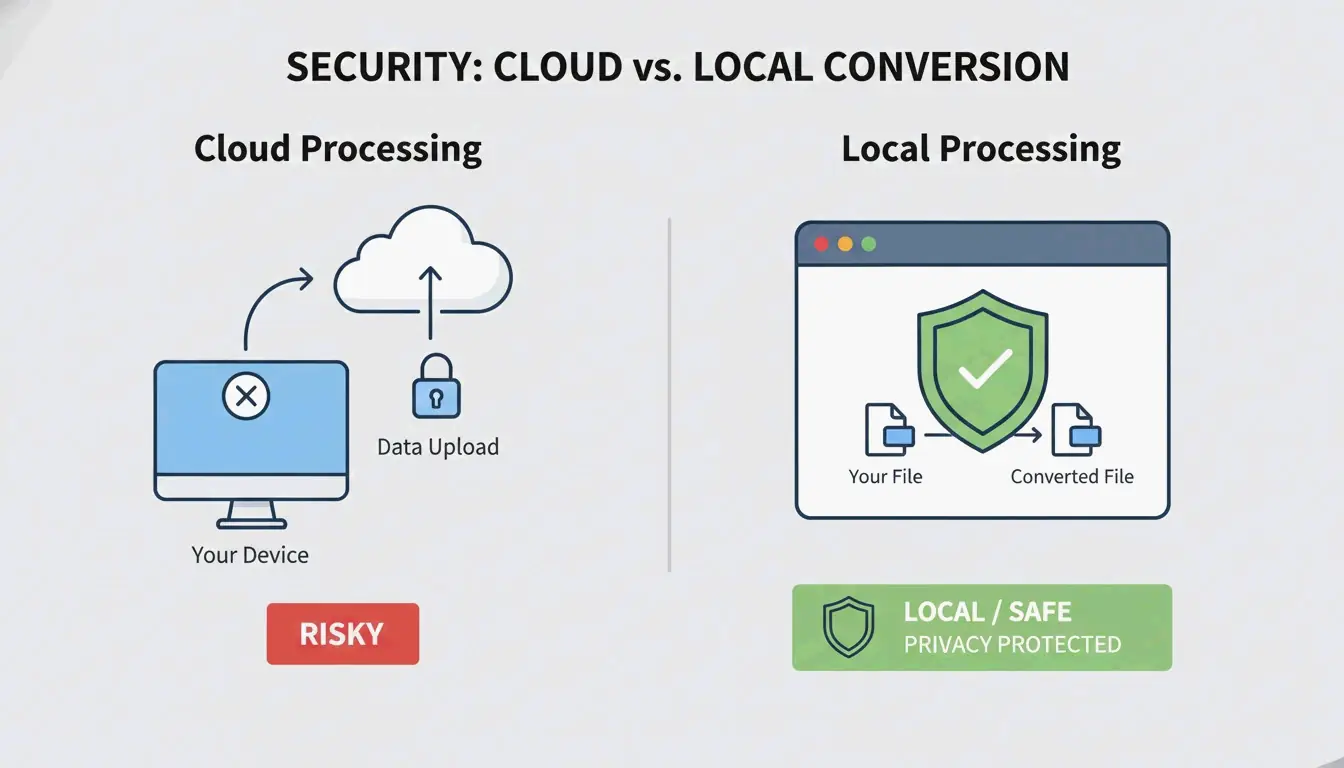
Privacy: Reputable platforms now follow GPC, GDPR, HIPAA, and SOC 2 Type II standards. Many offer “local-only” processing in your browser cache. For highly sensitive documents, stick to offline tools.
Method 4: Batch Processing — Cisdem PDF Compressor
For hundreds of contracts, invoices, or school resources:
Cisdem PDF Compressor lets you drag-and-drop entire folders:
- Add files — Drag hundreds of PDFs at once
- Pick mode — Small, Medium, or Large
- Compress — All files processed in seconds
Essential for real estate, healthcare, and legal industries migrating paperwork to cloud storage.
Method 5: OCR and Developer Automation
For programmatic compression at scale, use OCR to convert scanned images into searchable text layers, then replace heavy image backgrounds with lightweight previews.
IronPDF (C#) example:
// Compress images to 90% quality across all pages
pdf.CompressImages(90, true);
This scales image dimensions while stripping excess MBs — ideal for processing thousands of documents in enterprise pipelines.
Conclusion
The most effective PDF compression targets 150 DPI for images and strips metadata and unused fonts. For quick jobs, use Mac Preview or Smallpdf. For professional control, use Adobe Acrobat Pro. For bulk operations, use Cisdem or Ghostscript. For enterprise automation, integrate OCR + programmatic compression.
FAQ
Why is my PDF still large after compression?
Common causes: embedded fonts that can’t be subset, high-density vector graphics resistant to DPI downsampling, hidden layers, or accumulated version history. Use Adobe Acrobat’s “Audit Space Usage” to identify exactly what is consuming space.
Is it safe to upload sensitive documents to online compressors?
Only use tools compliant with GPC and GDPR. For legal or medical documents, use offline tools (Adobe Acrobat, Mac Preview, Ghostscript) to ensure data never leaves your machine.
How do I reduce a PDF to a specific size (e.g., under 5MB)?
Use Adobe Acrobat’s “Audit Space Usage” to identify the largest components, then manually adjust image compression to “JPEG High” and remove bookmarks, links, and unused metadata. Online tools like pdfFiller also show estimated output size before finalizing.