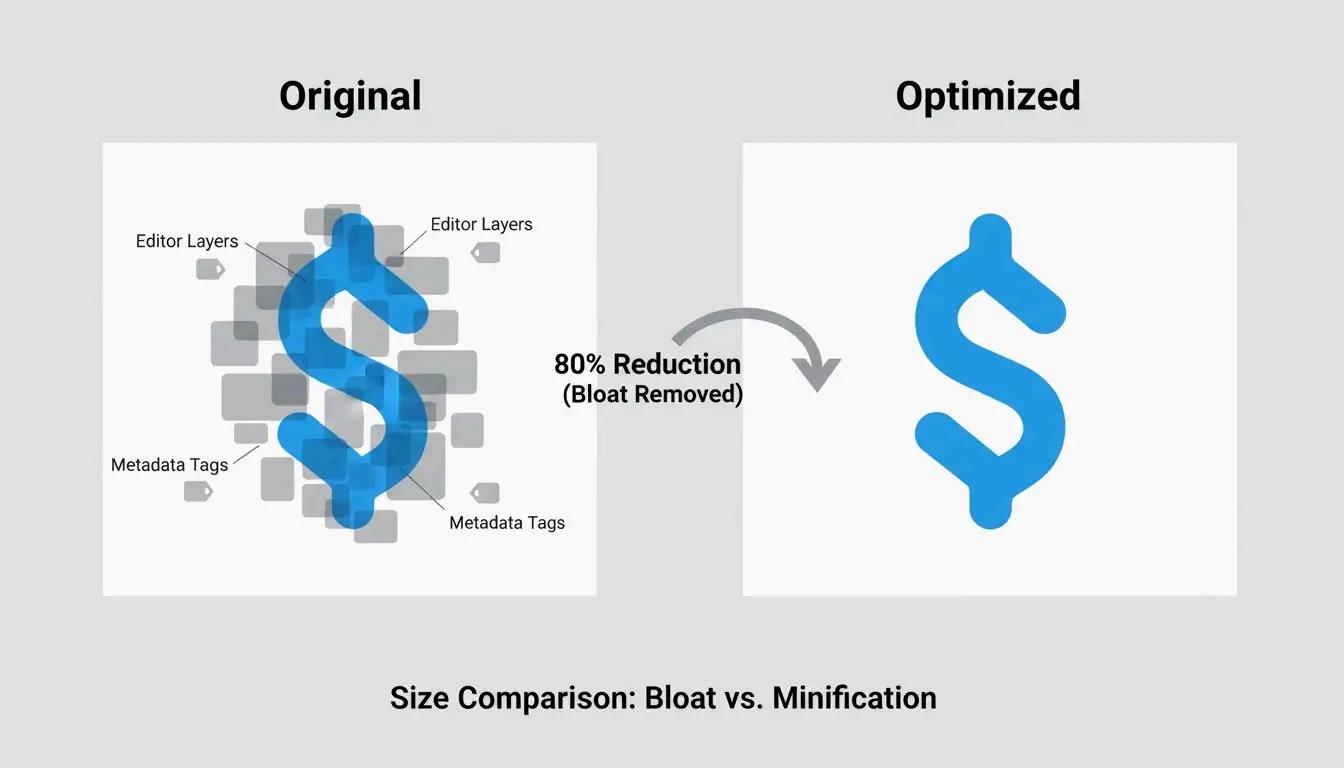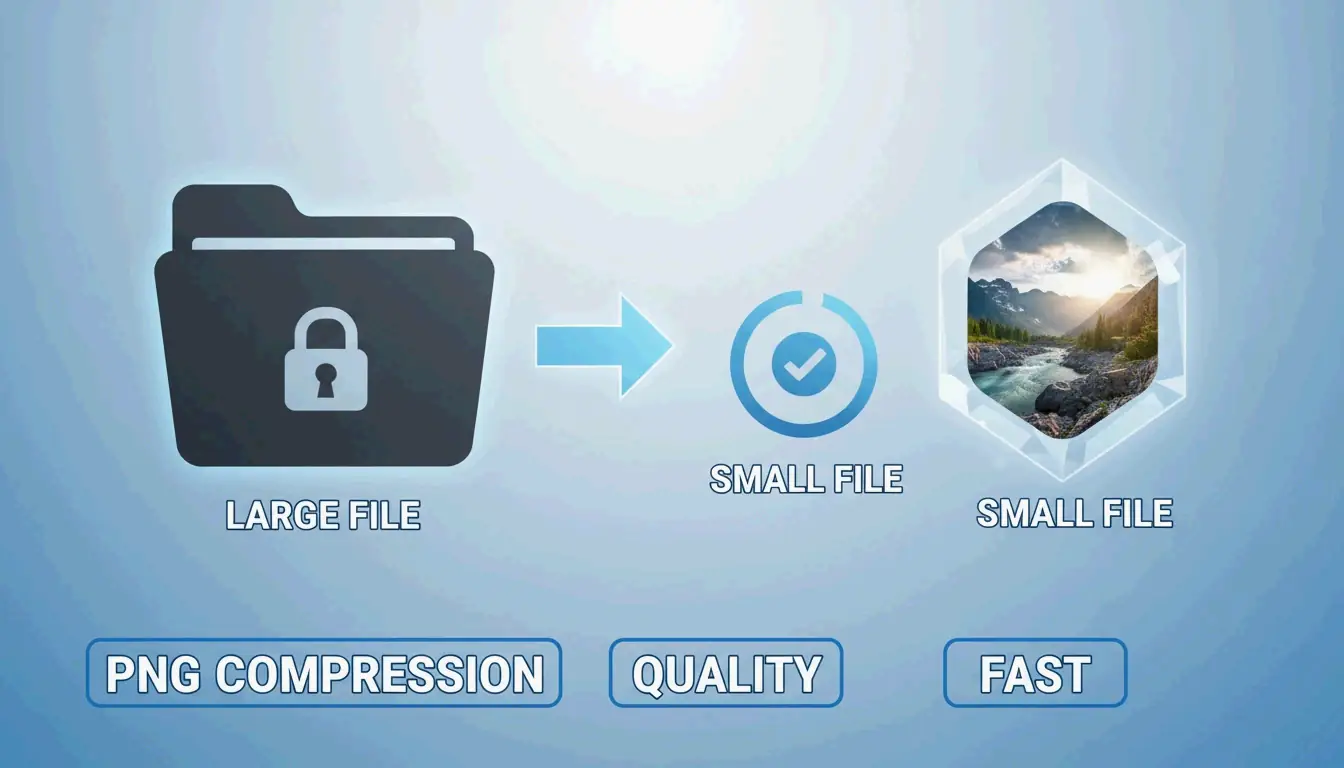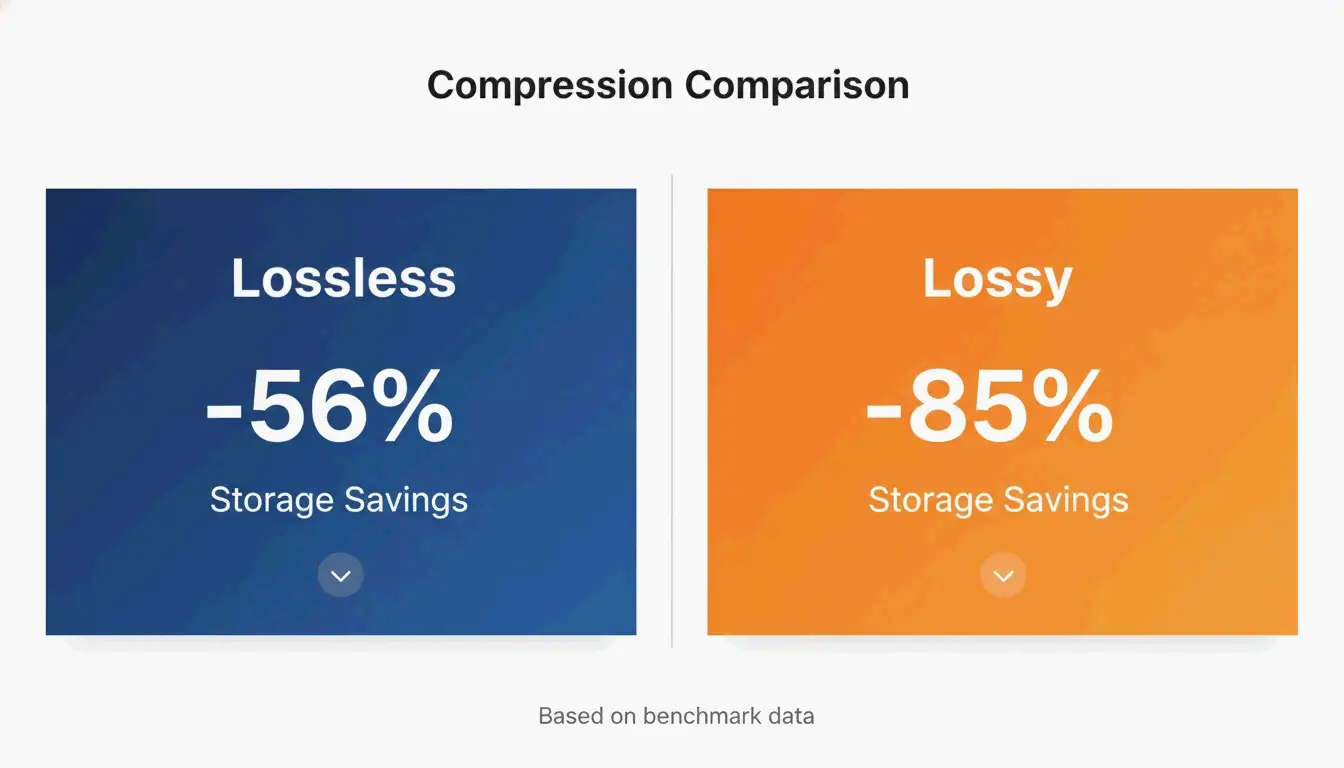
To compress TIFF files without Photoshop, use browser-based tools that apply LZW (lossless, for color/grayscale) or CCITT Group 4 (for black-and-white documents). These web tools reduce TIFF file sizes by up to 80% in under a second, with no desktop software required.
Quick Comparison: TIFF Compression Methods
| Method | Type | Best For | Typical Reduction |
|---|---|---|---|
| LZW | Lossless | Color photos, digital art, medical scans | 40–60% |
| CCITT Group 4 | Lossless (bitonal) | Text documents, invoices, legal contracts | 70–90% |
| PackBits | Lossless (RLE) | Simple graphics, screenshots | 10–30% |
| JPEG-in-TIFF | Lossy | Photos where some quality loss is acceptable | 80–95% |
| Uncompressed | None | When no compatibility risk is tolerated | 0% |
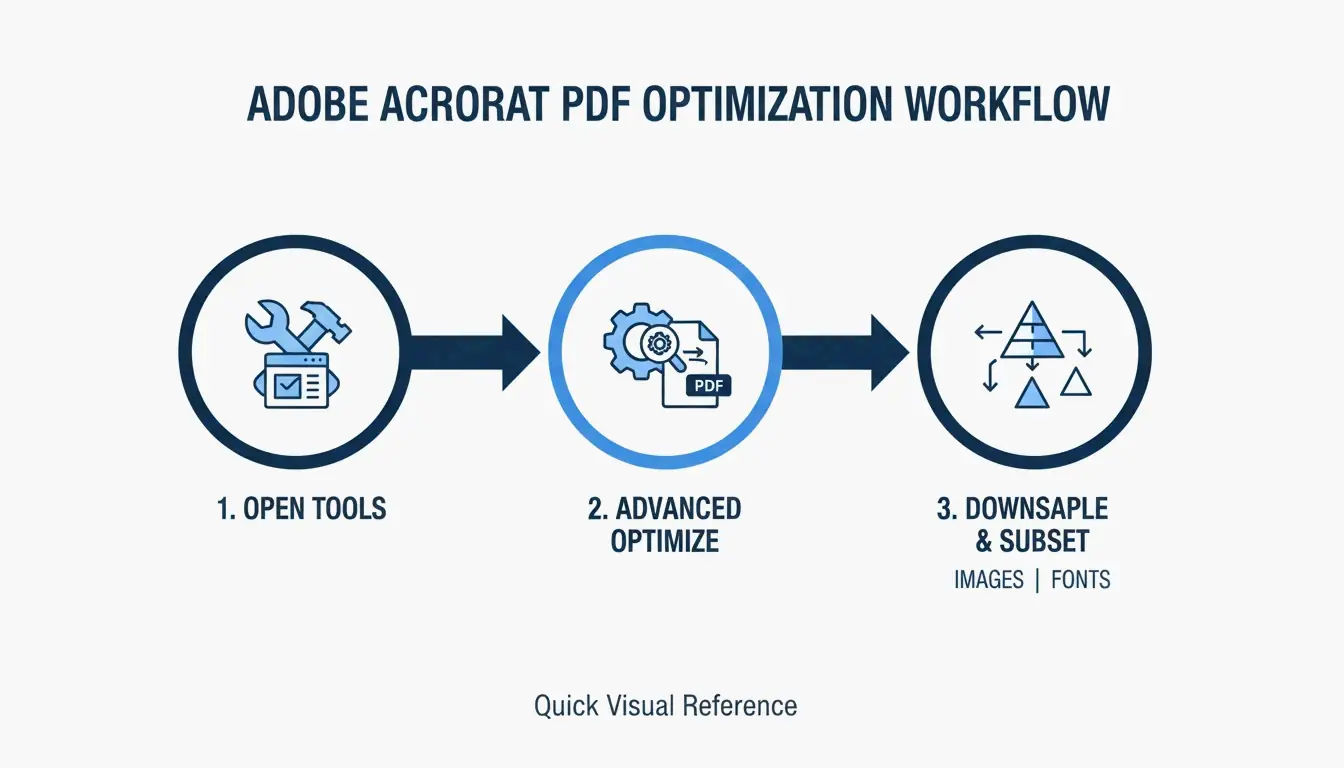
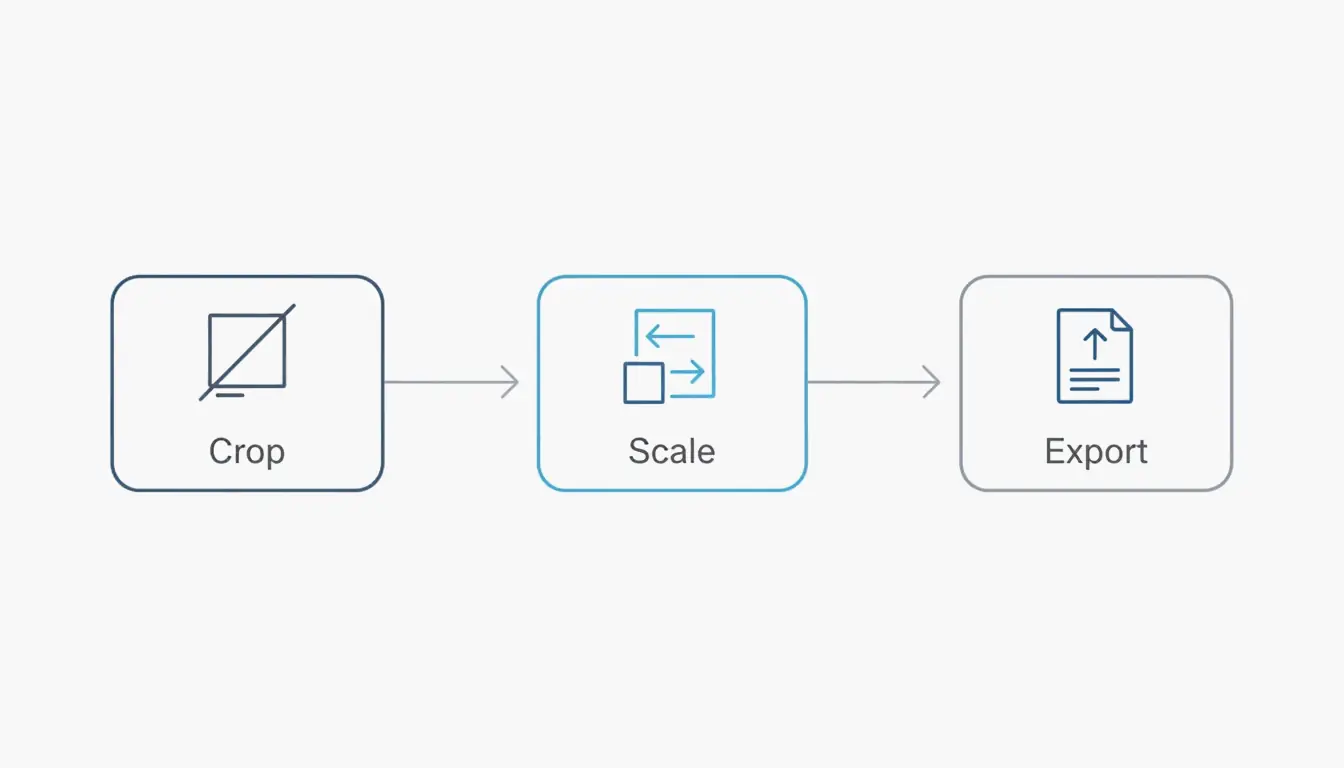
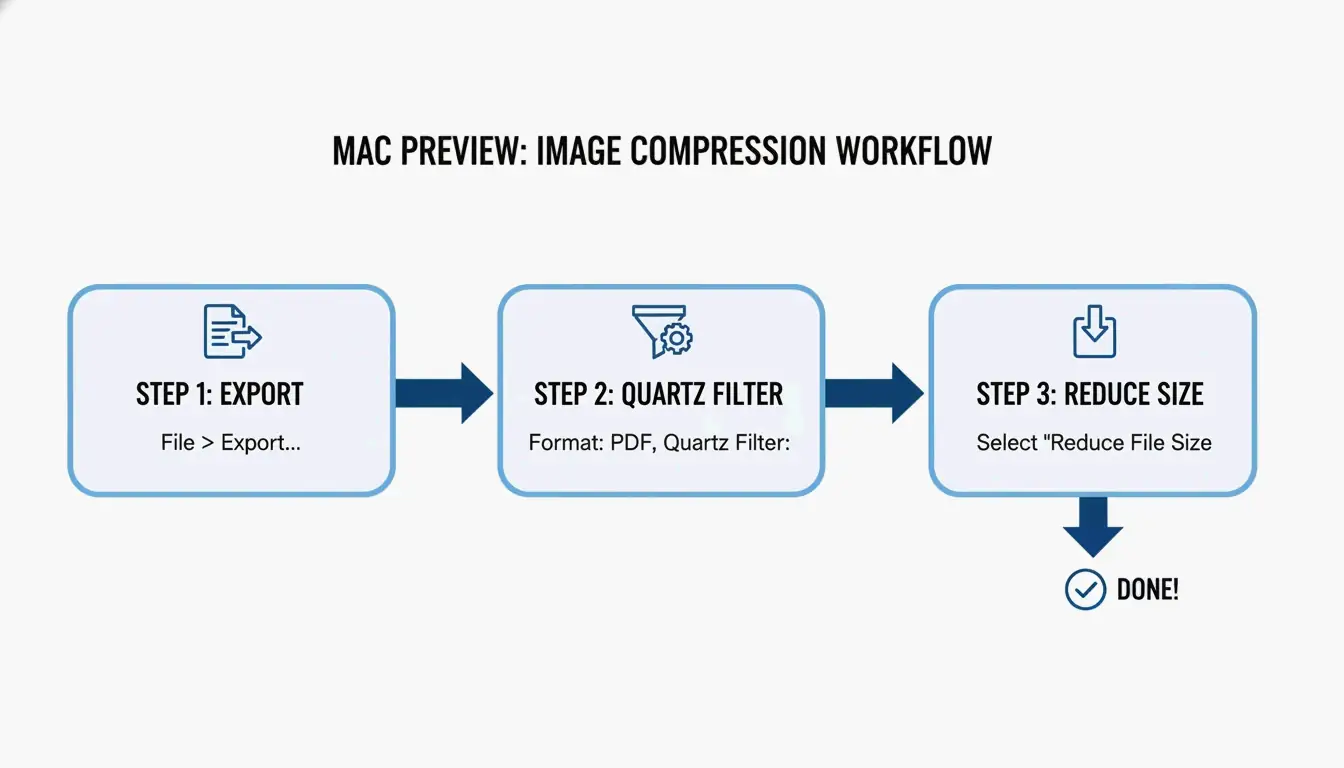
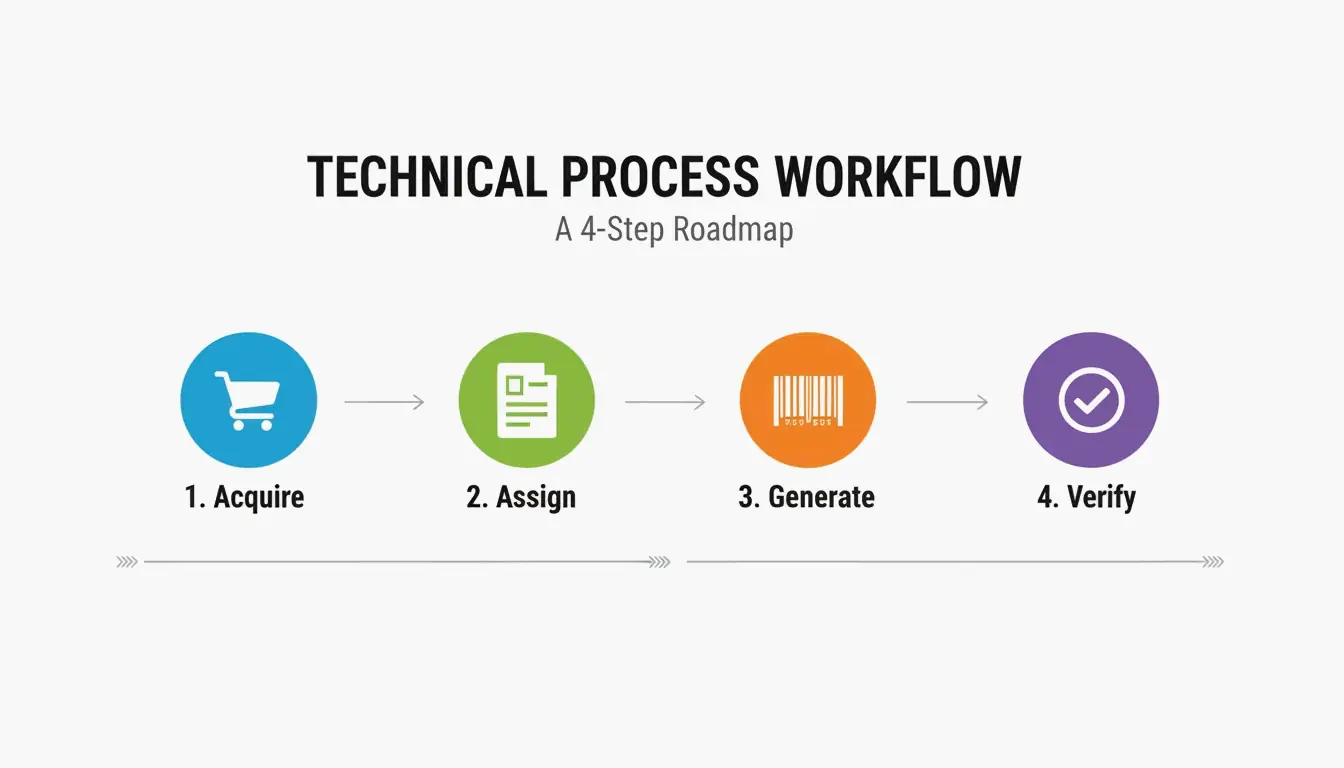
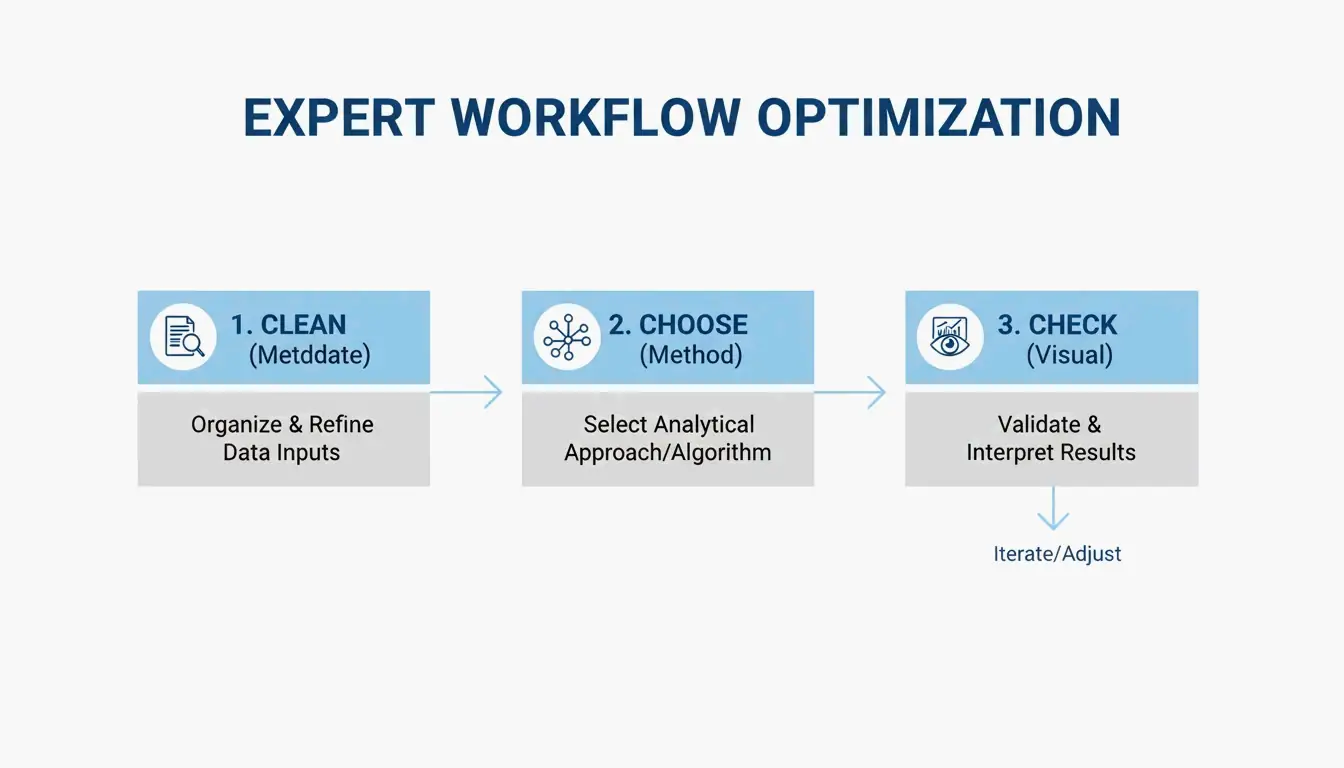
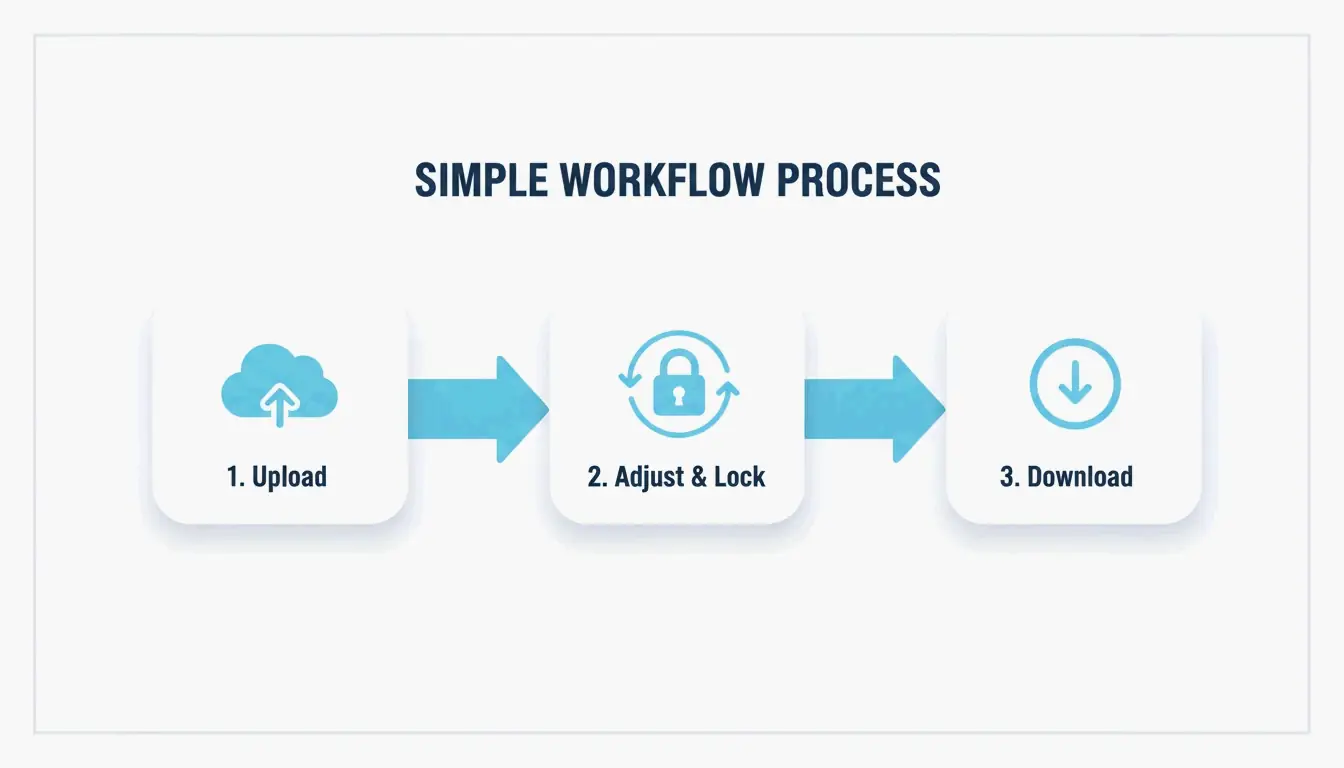
The 3-Step Compression Workflow
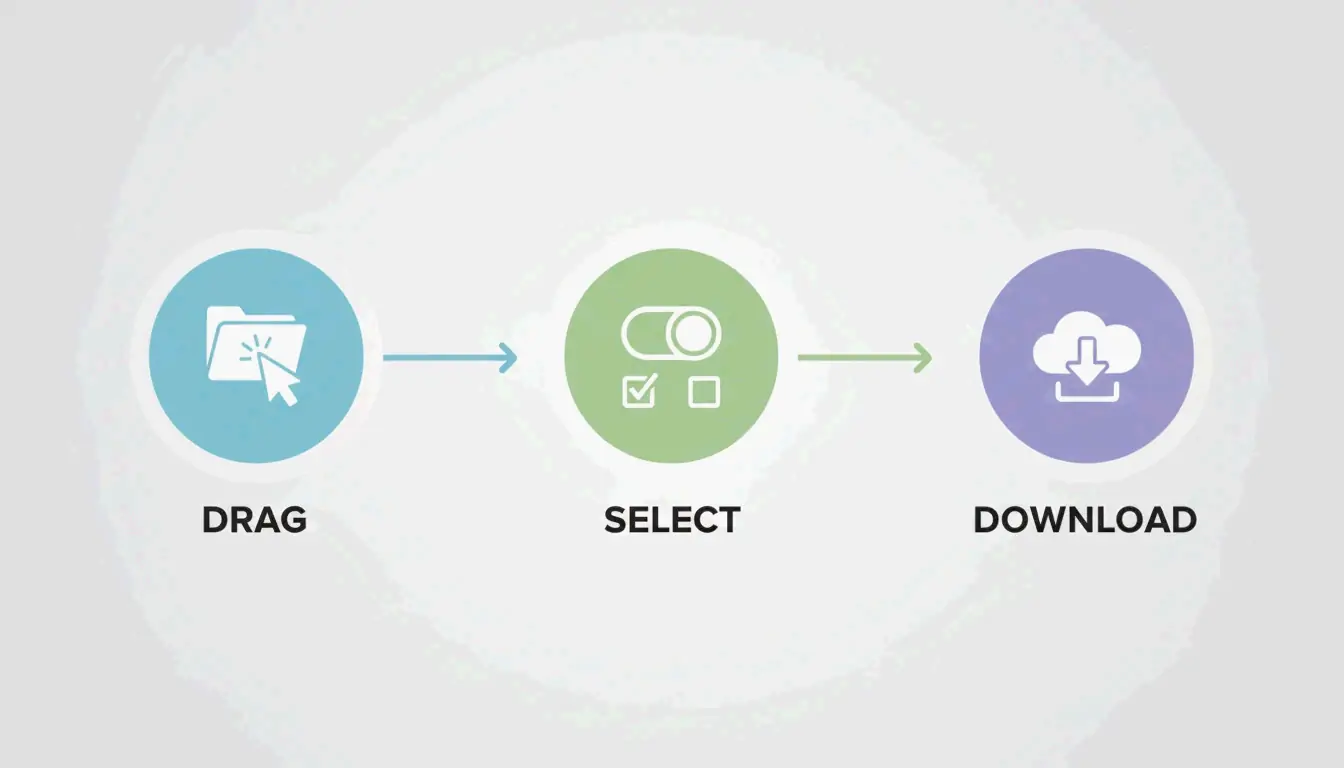
- Upload — Drag TIFF files into the browser. HitPaw supports batch processing for dozens of files at once.
- Select Compression — Choose LZW for color images or CCITT Group 4 for black-and-white documents.
- Download — Hit “Compress” and save. Aspose notes processing typically takes under 1 second after upload completes.
Online-Convert, which has processed over 1.9 billion files, confirms browser-based TIFF compression has replaced desktop software for most workflows.
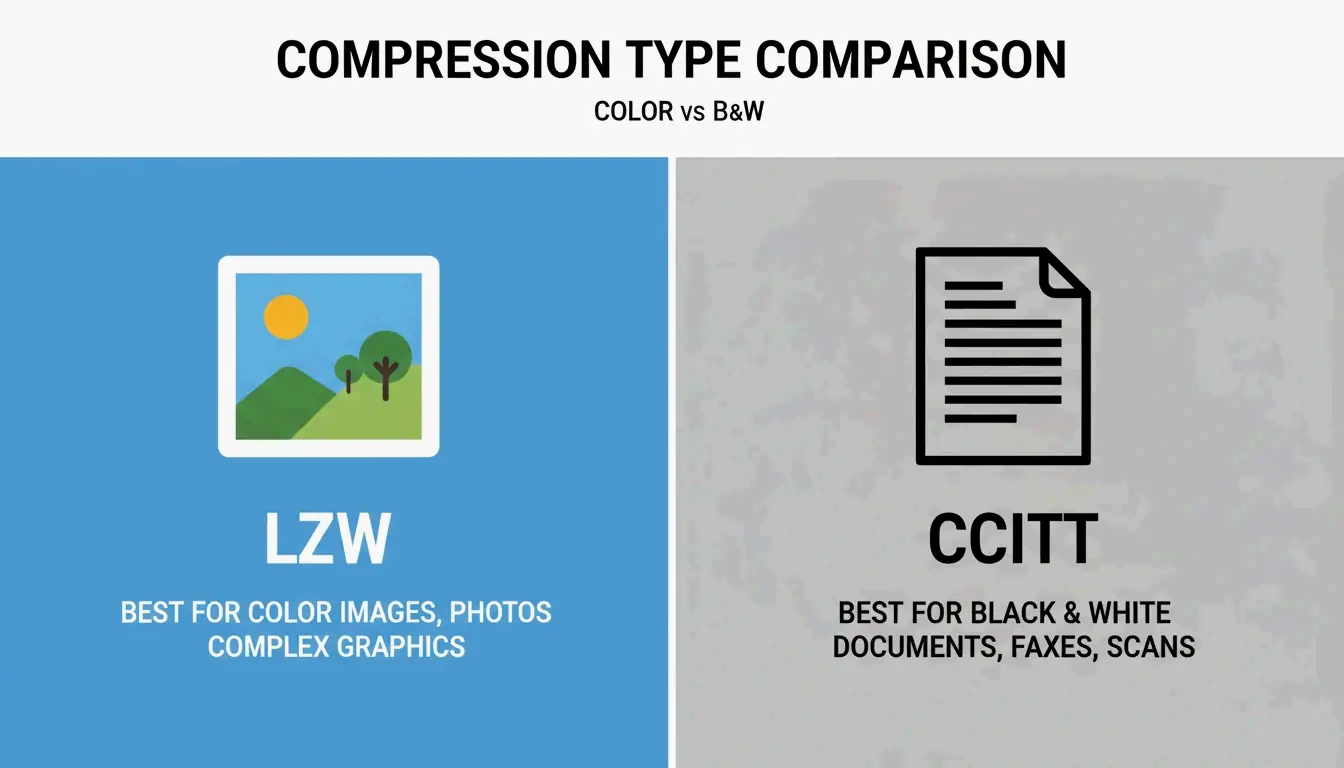
LZW vs. CCITT Group 4: When to Use Each
LZW — Lossless Color Compression
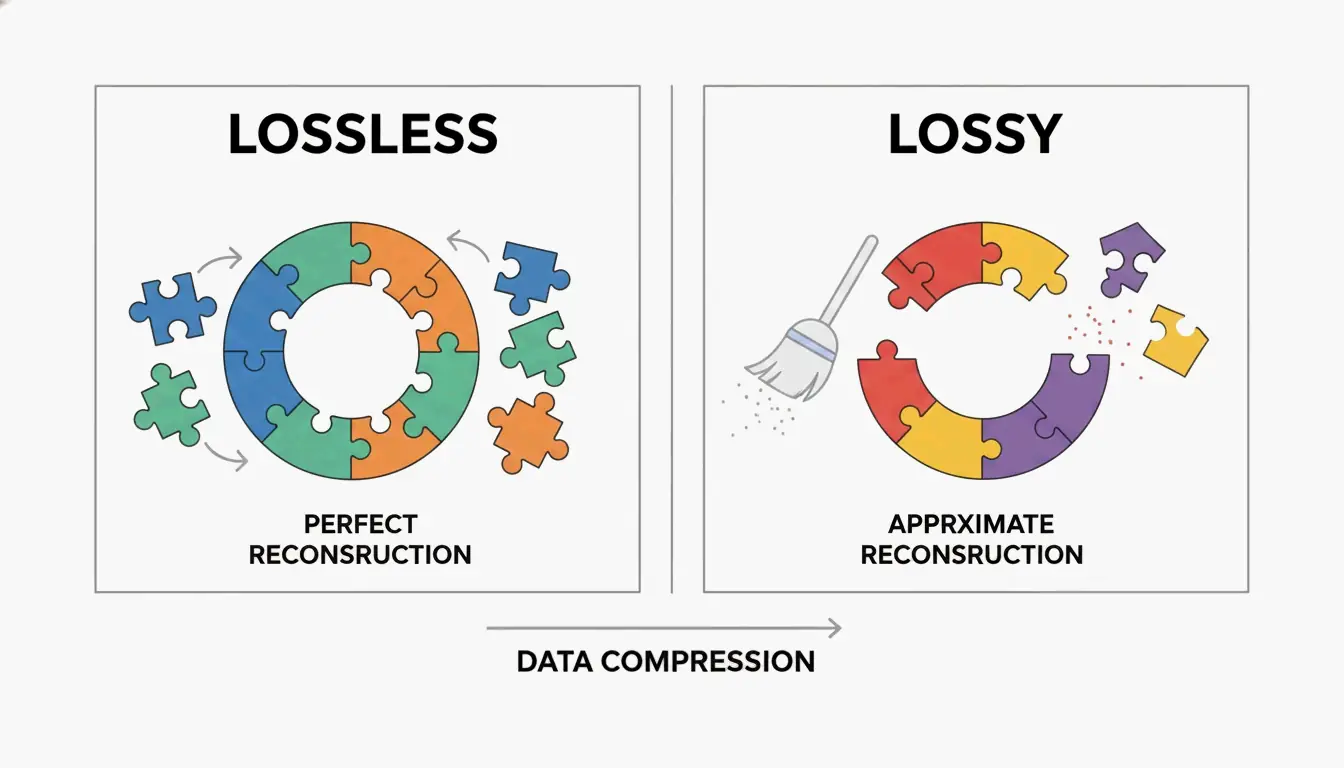
LZW (Lempel–Ziv–Welch) finds repeating data patterns without discarding any information. The image stays 100% pixel-identical to the original.
| Attribute | Detail |
|---|---|
| Type | Lossless |
| Best For | Color photos, grayscale scans, digital art, medical imaging |
| Fidelity | Bit-identical to original |
| Industry Use | Medical and scientific imaging per Aspose — every pixel must remain for analysis |
CCITT Group 4 — Maximum Compression for Text
Originally built for fax transmission, CCITT Group 4 is optimized for bitonal (pure black and white) images. It compresses text-heavy documents far more efficiently than LZW.
| Attribute | Detail |
|---|---|
| Type | Lossless (bitonal only) |
| Best For | Invoices, legal contracts, historical records, scanned text |
| Efficiency | Much higher than LZW on monochrome content |
| Technical Note | reaConverter confirms Group 4 converts images to bitonal format, ideal for archiving thousands of documents |
Decision Guide
| Your Image Type | Recommended Method | Why |
|---|---|---|
| Color photo or scan | LZW | Preserves all color data losslessly |
| Grayscale X-ray / medical | LZW | Every pixel matters for diagnosis |
| Black-and-white text document | CCITT Group 4 | Highest compression for bitonal |
| Mixed content (text + images) | LZW | Group 4 would destroy color information |
Security: Client-Side vs. Server-Side Processing
| Model | How It Works | Privacy Level | Tools |
|---|---|---|---|
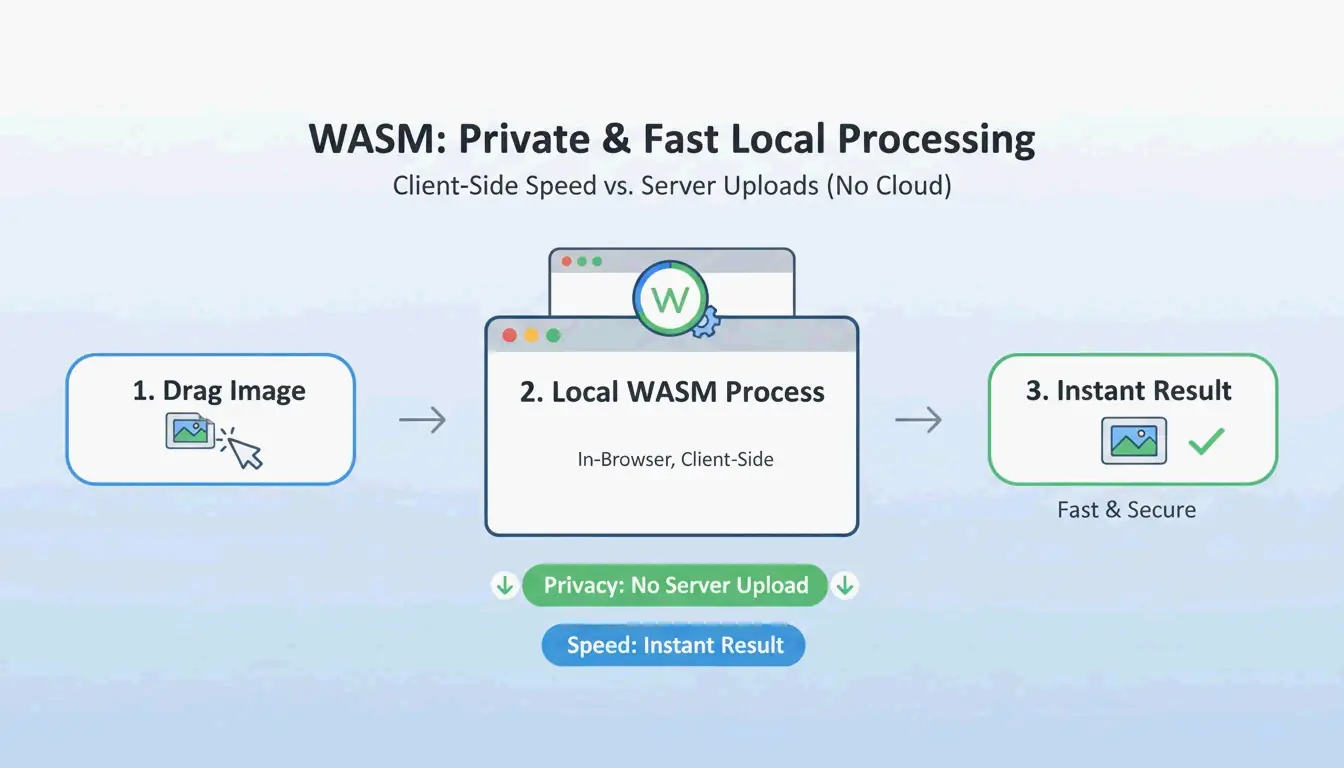
| Client-Side (WASM) | Compression runs in your browser’s RAM | Highest — file never leaves your device | ToolsFlow |
| Server-Side (SSL) | File travels to remote server via encrypted connection | High — files auto-deleted within 24 hours | Aspose, Online-Convert |
For medical records, legal documents, or corporate data, prefer client-side tools. For general use, reputable server-side tools with SSL encryption and auto-deletion are safe.
Technical Standards: TIFF 6.0 and BigTIFF
Wikipedia documents TIFF as a flexible format supporting everything from simple scans to deep-color images.
| Standard | Max File Size | Use Case |
|---|---|---|
| Baseline TIFF 6.0 | 4 GB | Standard documents, photos, scans |
| BigTIFF (64-bit offsets) | 18 exabytes | Geographic maps, scientific datasets |
Aspose.Imaging for .NET gives developers programmatic control over TIFF tags like StripOffsets to ensure files meet TIFF 6.0 specs for maximum compatibility.
Web Tools for TIFF Compression
| Tool | Method | Batch | Security Model |
|---|---|---|---|
| HitPaw | Smart auto-detect | Yes | Server-side |
| Aspose | LZW, CCITT, JPEG | Yes | Server-side (SSL + auto-delete) |
| Online-Convert | Multiple codecs | Yes | Server-side |
| ToolsFlow | Browser-based | Yes | Client-side (never uploads) |
Conclusion
For color/grayscale TIFFs, use LZW compression — lossless and pixel-perfect. For black-and-white documents, use CCITT Group 4 — maximum compression for text. Both are available in browser-based tools that process files in under a second. For sensitive documents, choose client-side (WASM) tools where files never leave your device.
FAQ
Is it safe to compress sensitive TIFF documents online?
Yes, with the right tool. Client-side tools process files in your browser’s memory — data never leaves your device. Server-side tools like Aspose use SSL encryption and auto-delete files within 24 hours. For medical or legal data, prefer client-side processing.
What is the difference between LZW and CCITT Group 4?
LZW is a lossless algorithm for color and grayscale images — preserves all pixels. CCITT Group 4 is designed for bitonal (black-and-white) images — achieves much higher compression on text documents but destroys color information.
Can I compress TIFF files on mobile?
Yes. All modern browser-based compression tools work on mobile via Safari or Chrome. Upload from phone storage or cloud drives. Processing speed remains under 1 second on 5G or Wi-Fi.
What is BigTIFF and when do I need it?
Standard TIFF uses 32-bit offsets with a 4 GB file size limit. BigTIFF uses 64-bit offsets, supporting files up to 18 exabytes. Only needed for massive geographic or scientific datasets exceeding 4 GB.