Removing watermarks from AI-generated images in 2026 requires precision, not guesswork. Two professional approaches lead the field: Reverse Alpha Blending for lossless restoration of semi-transparent overlays, and AI Inpainting for complex background reconstruction. While visible logos can be cleanly removed, invisible markers like SynthID typically persist in the pixel data, which carries ethical and legal implications for commercial use.
The 2026 Framework for Safe AI Watermark Removal
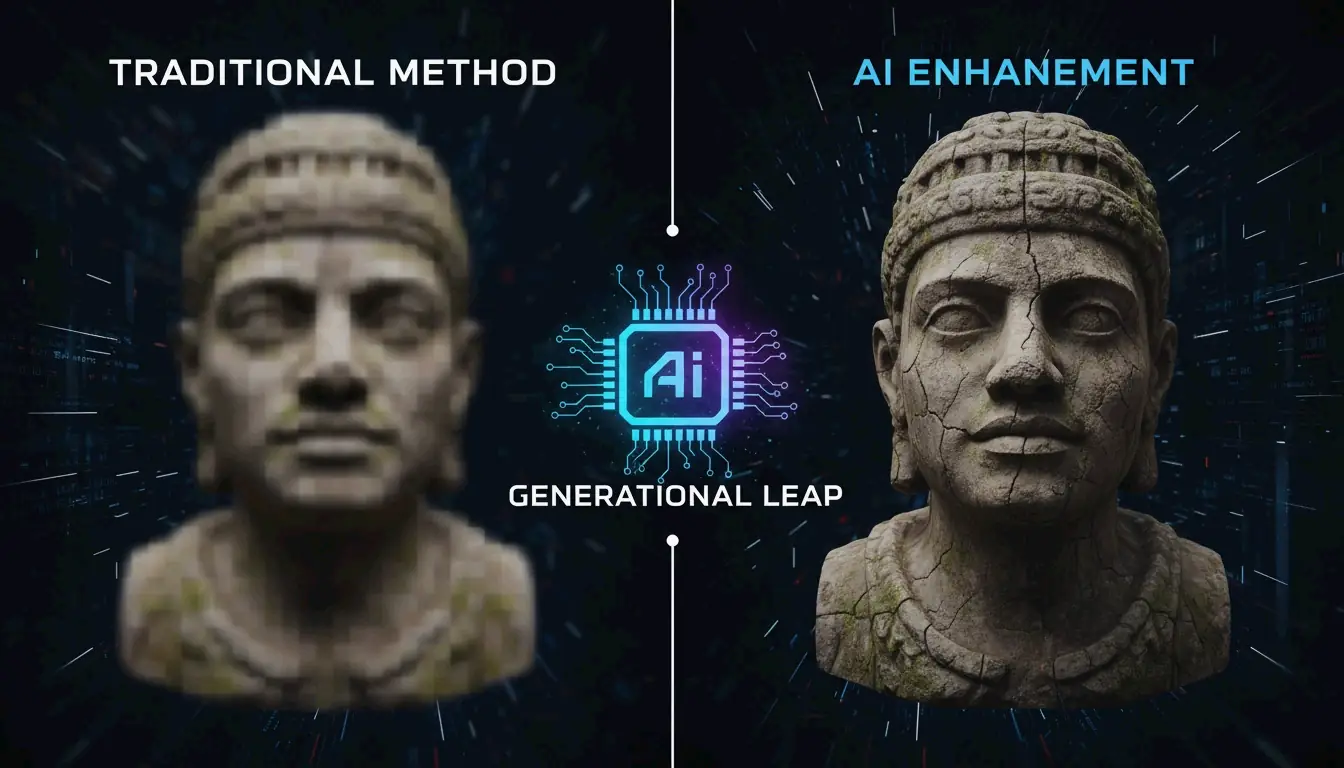
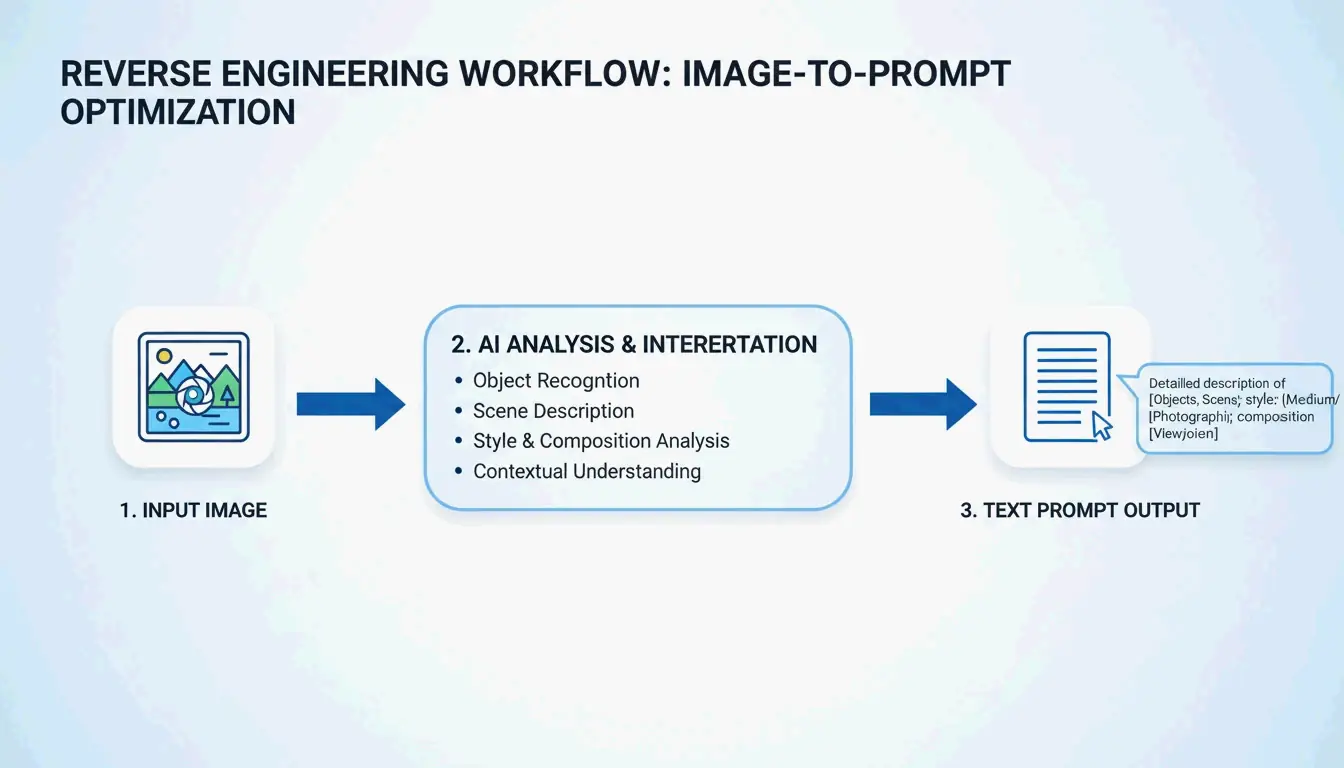
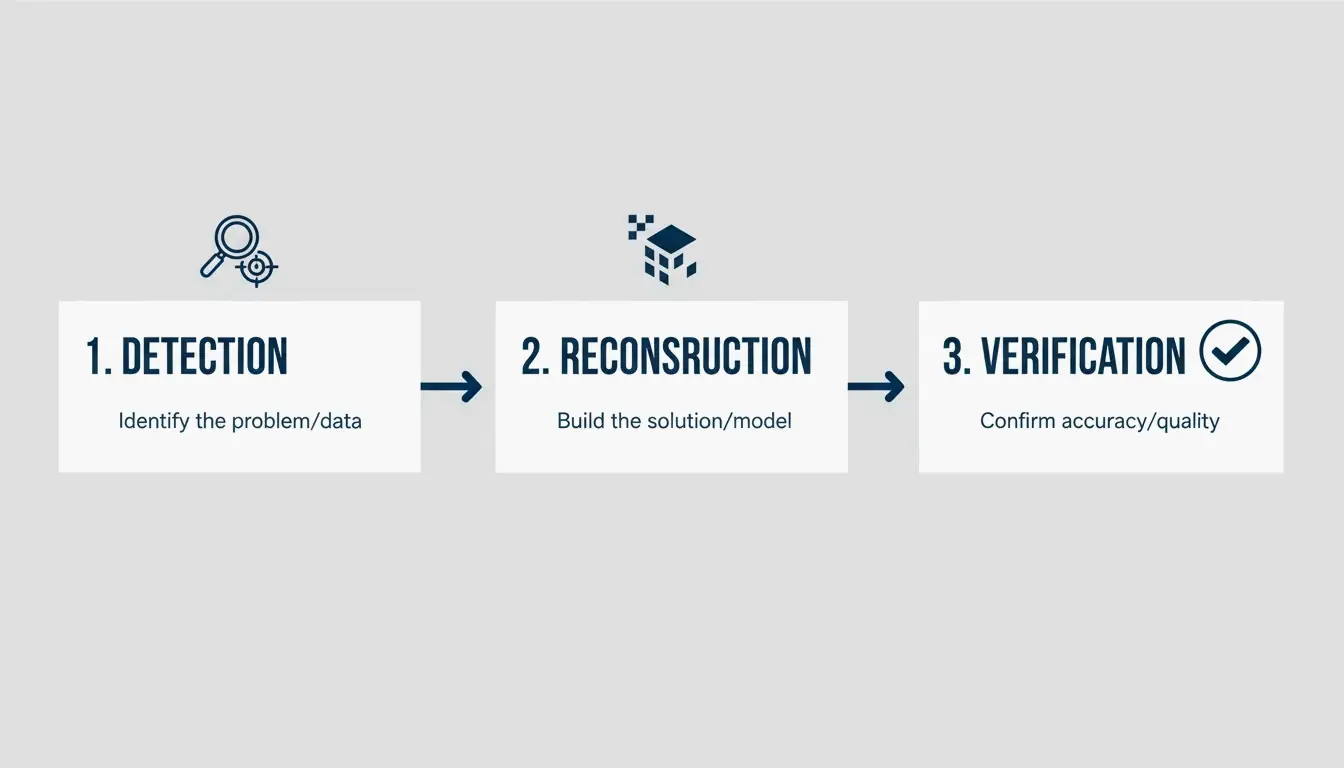
Professional image restoration has evolved from crude clone-stamp edits into a structured three-step pipeline: Detection, Mathematical Reconstruction, and Metadata Verification. According to the Digital Media Institute, AI restoration tools are now 40% more accurate than their 2024 counterparts, making near-perfect pixel recovery a practical reality.
AI-generated watermarks differ from traditional photo watermarks. Google’s four-pointed star and Meta’s “Imagined with AI” label are semi-transparent overlays, not solid logos. Cropping is not a professional solution because it destroys composition and clips edge details. A proper restoration rebuilds the underlying texture — skin, fabric, or gradient — rather than blurring over it.
Step 1: Analyze the Watermark Type
| Watermark Type | Characteristics | Recommended Method |
|---|---|---|
| Static / Opaque Logo | Solid, non-transparent | AI Inpainting (Content-Aware Fill) |
| Semi-Transparent Overlay | Partially see-through | Reverse Alpha Blending |
Static marks require the software to predict and fill the missing background from surrounding pixels. Semi-transparent marks, common in Gemini outputs, are better suited to mathematical reversal, which calculates the original pixel values hidden behind the transparency layer.
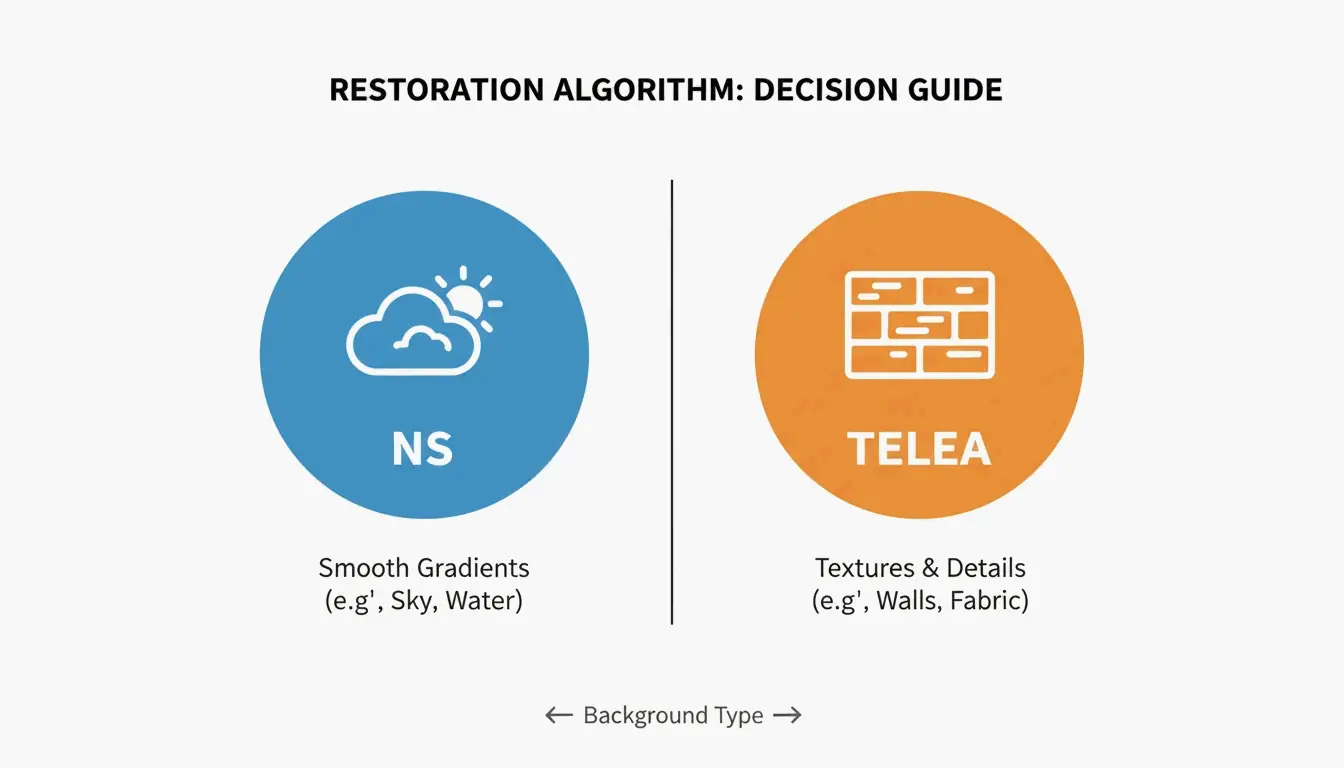
Step 2: Choose Reconstruction vs. Generation
The background complexity determines the approach:
- Simple backgrounds (clear sky, studio wall): Standard reconstruction works well.
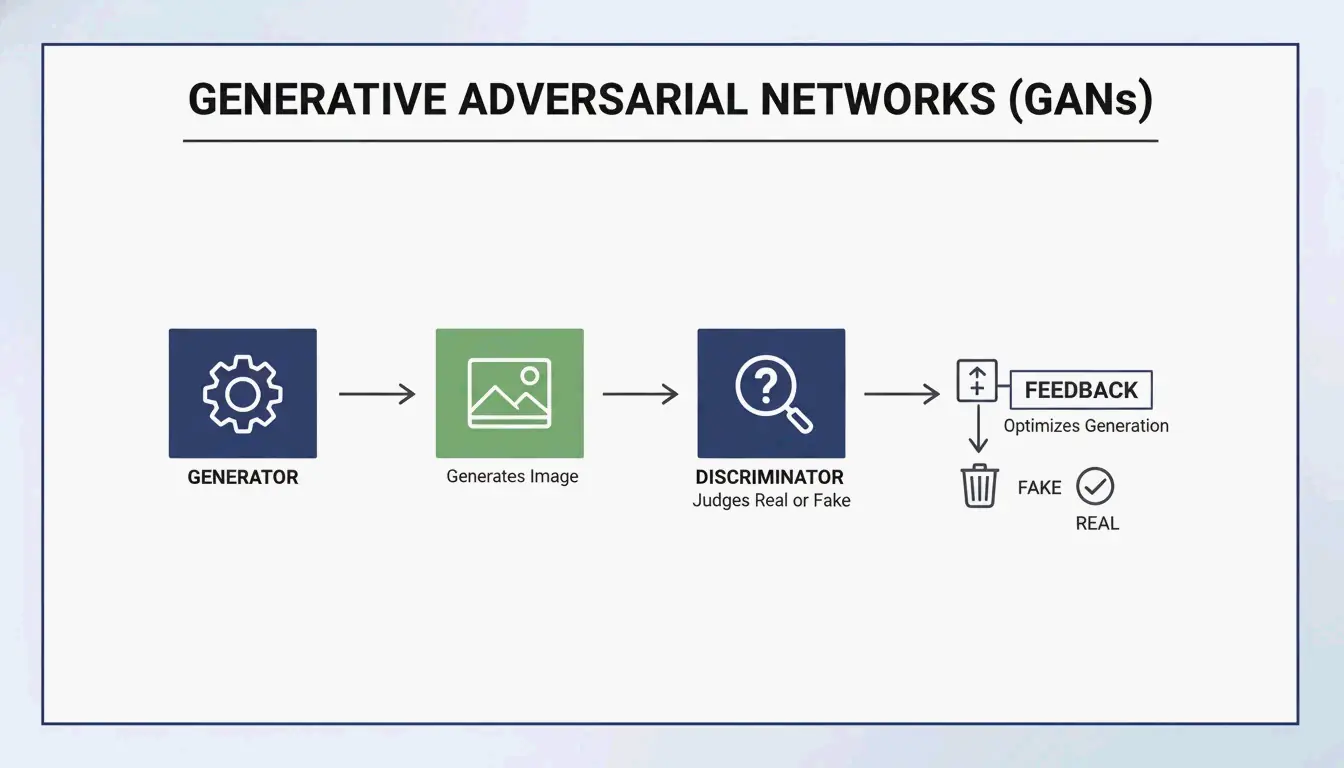
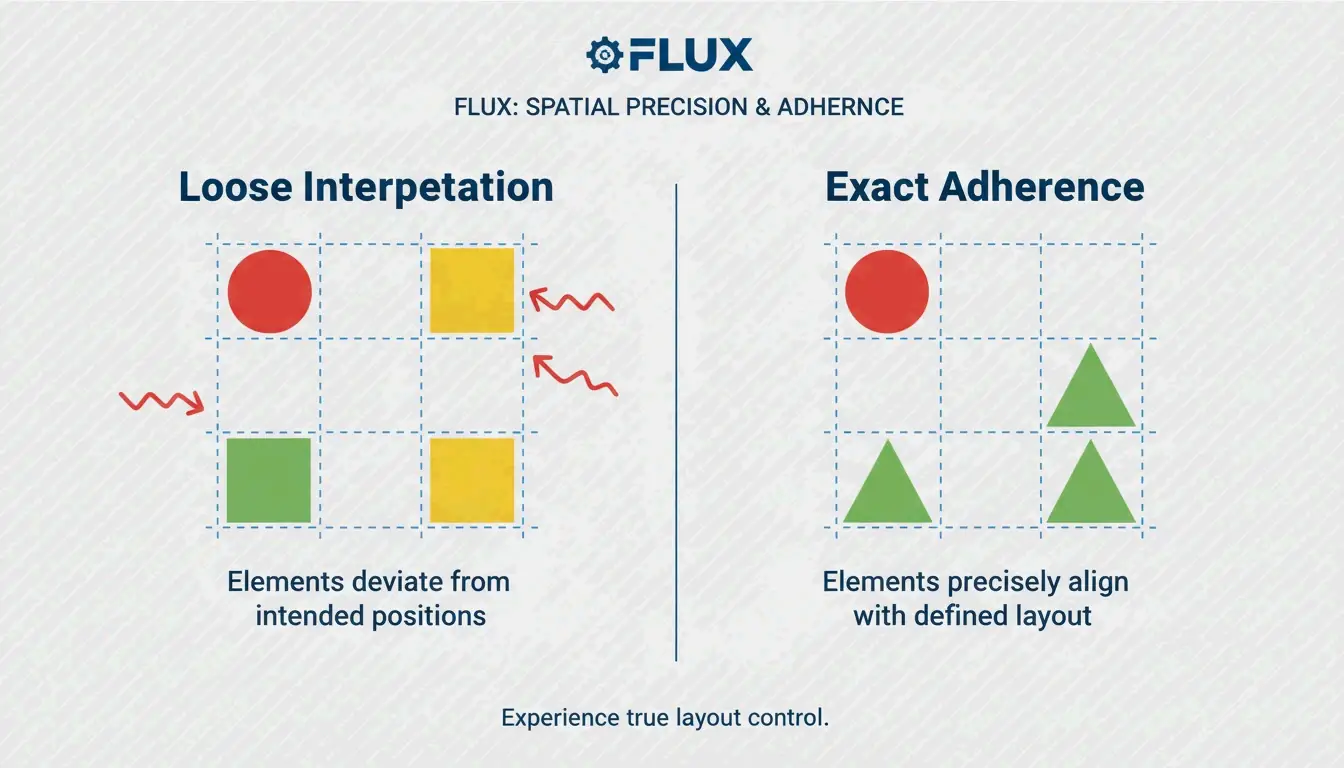
- Detailed patterns (foliage, faces, fabric textures): Generative models like Flux Klein 9B produce more natural results by understanding the image structure.
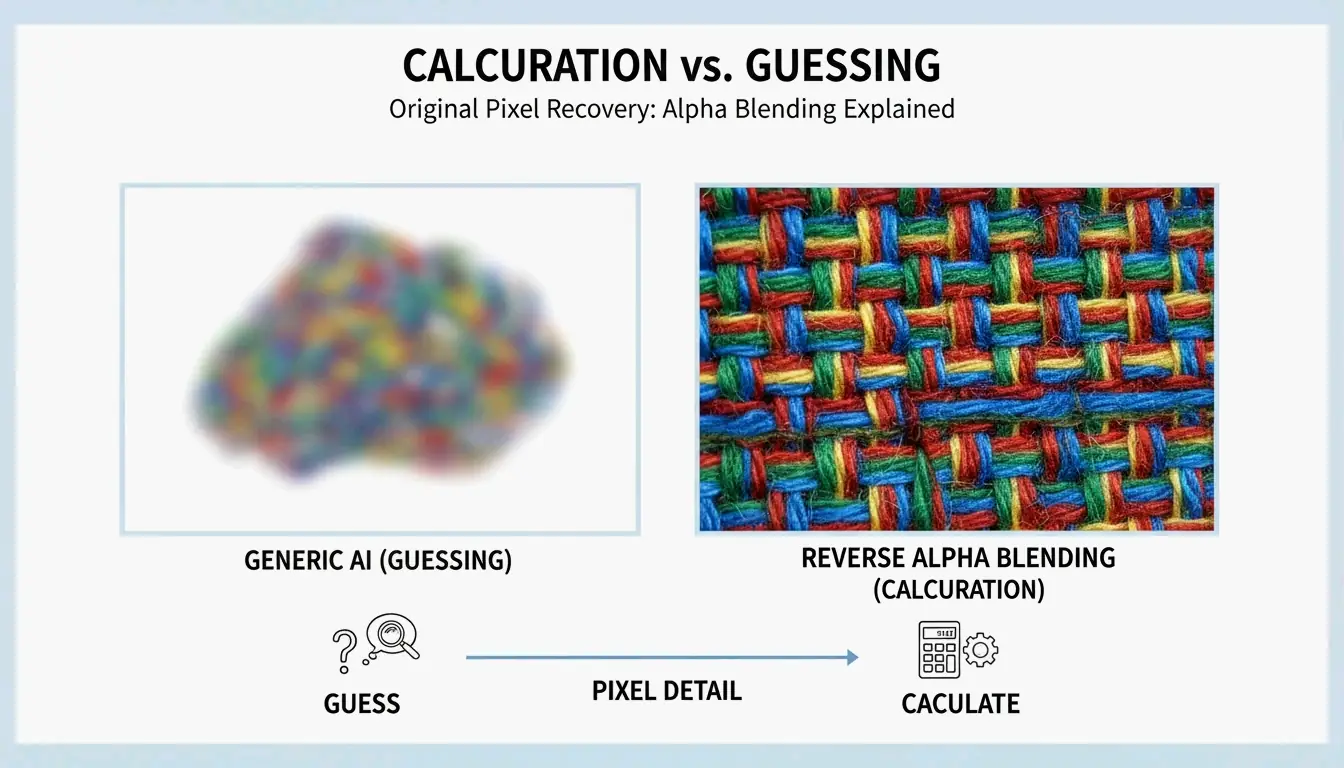
Using Reverse Alpha Blending for Lossless Results
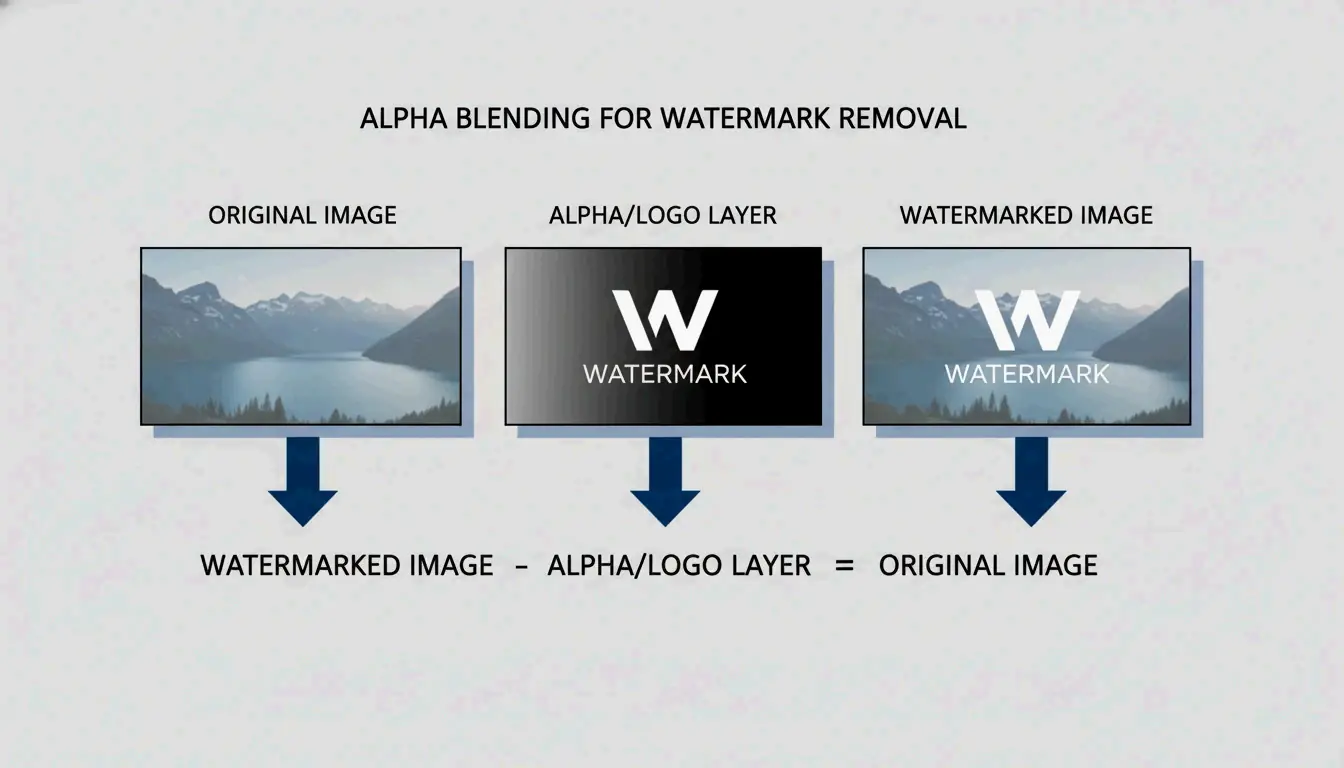
Reverse Alpha Blending is the preferred method in 2026 because it restores original pixels rather than inventing new ones. The watermark layer follows a mathematical formula. By reversing that specific equation, tools recover the exact color and luminance values underneath.
This method is particularly effective against the Google Gemini “Nano Banana” logo. As documented by GargantuaX on GitHub, this algorithmic approach avoids the “random” artifacts of generative fills — no soft edges or blurry patches.
Practical example: An e-commerce seller used Liam with AI detection and reverse blending to clean dozens of supplier images. The Gemini Watermark Cleaner batch-processed logos without altering product colors or background textures, maintaining the quality required for a professional storefront.
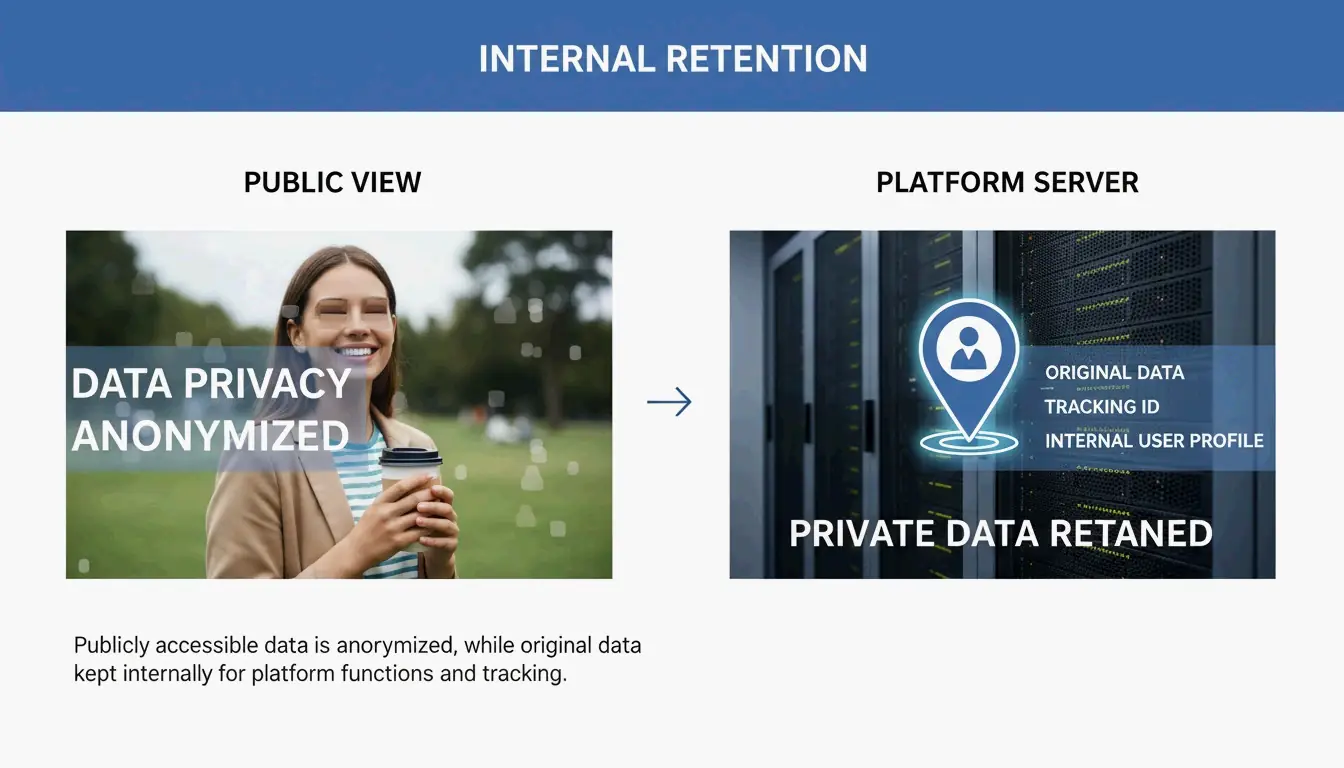
What Is SynthID? Understanding Invisible Tracking
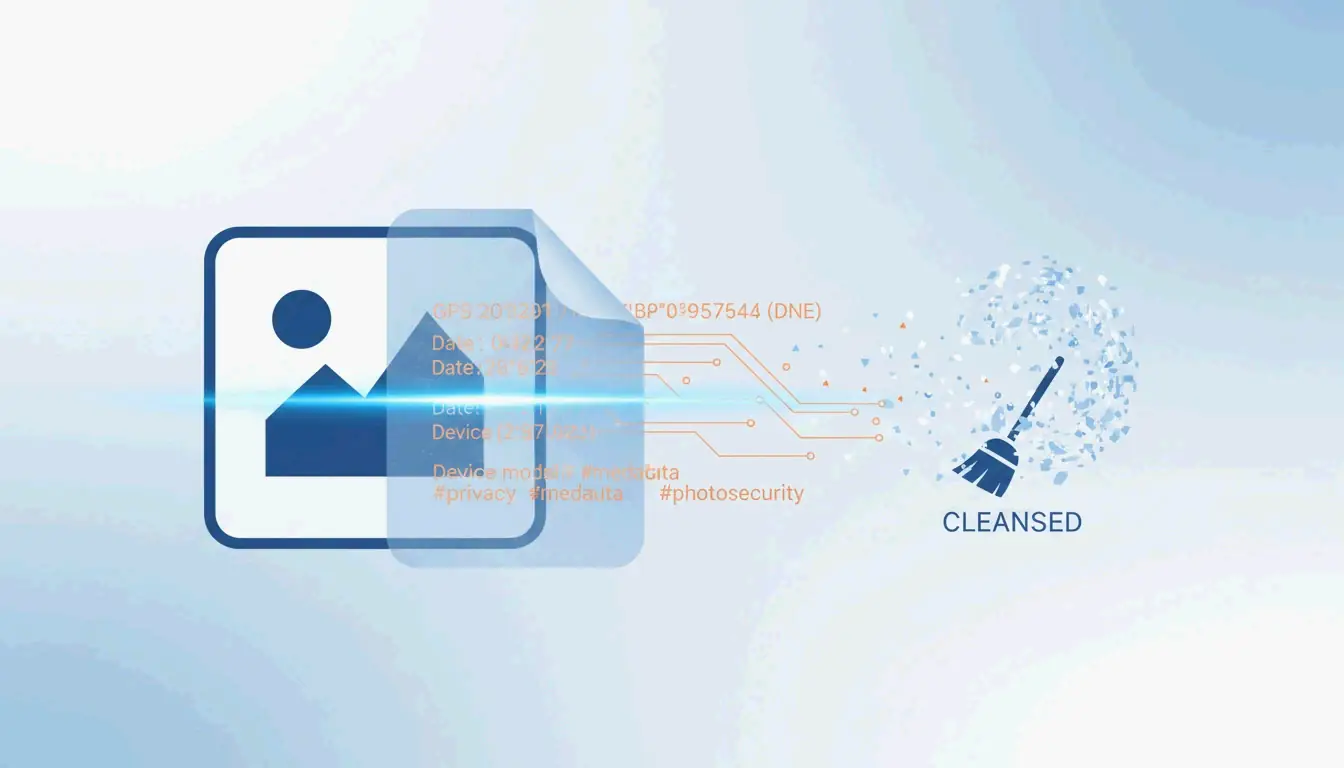
Removing a visible watermark does not remove all traces. Google embeds SynthID, a digital watermark woven directly into the pixel data. Unlike a visible logo, SynthID is invisible to the human eye and engineered to survive cropping, resizing, and color adjustments.
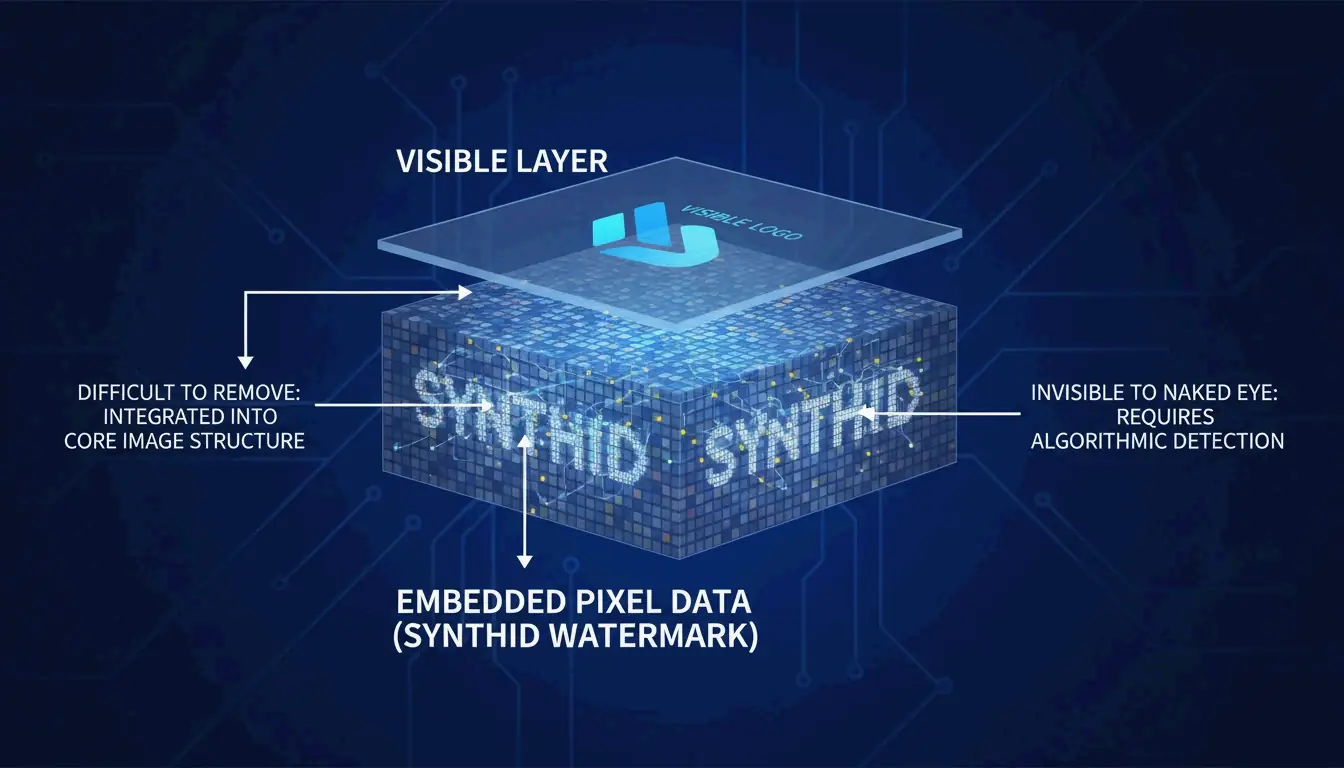
Expert Wilnick Nemours emphasizes that removing the visual logo does not erase the digital history. SynthID persists at the signal level, meaning the image will still be flagged as “AI-generated” by professional tools and social platforms in 2026. This is relevant for SEO and platform transparency, as search engines increasingly prioritize AI content labeling.
Professional Tool Comparison: GStory AI vs. Photoshop Content-Aware Fill
| Feature | GStory AI | Photoshop Content-Aware Fill |
|---|---|---|
| Best For | High-volume batch processing | Precise manual control |
| Core Logic | Generative Reconstruction | Neighboring Pixel Analysis |
| Privacy | Cloud-based processing | Local-only (secure) |
| Complexity Handling | Tiled/complex watermarks | Simple corner logos |
| Pricing Model | Credit-based | Subscription |
According to Digen.ai, 85% of professional video and image suites now include generative AI as a standard feature.
GStory AI excels at high-volume batch work with complex tiled watermarks using models like Flux Klein 9B. Photoshop Content-Aware Fill remains the reliable choice for sensitive data since all processing happens locally, though it can struggle with semi-transparent overlays on detailed textures.
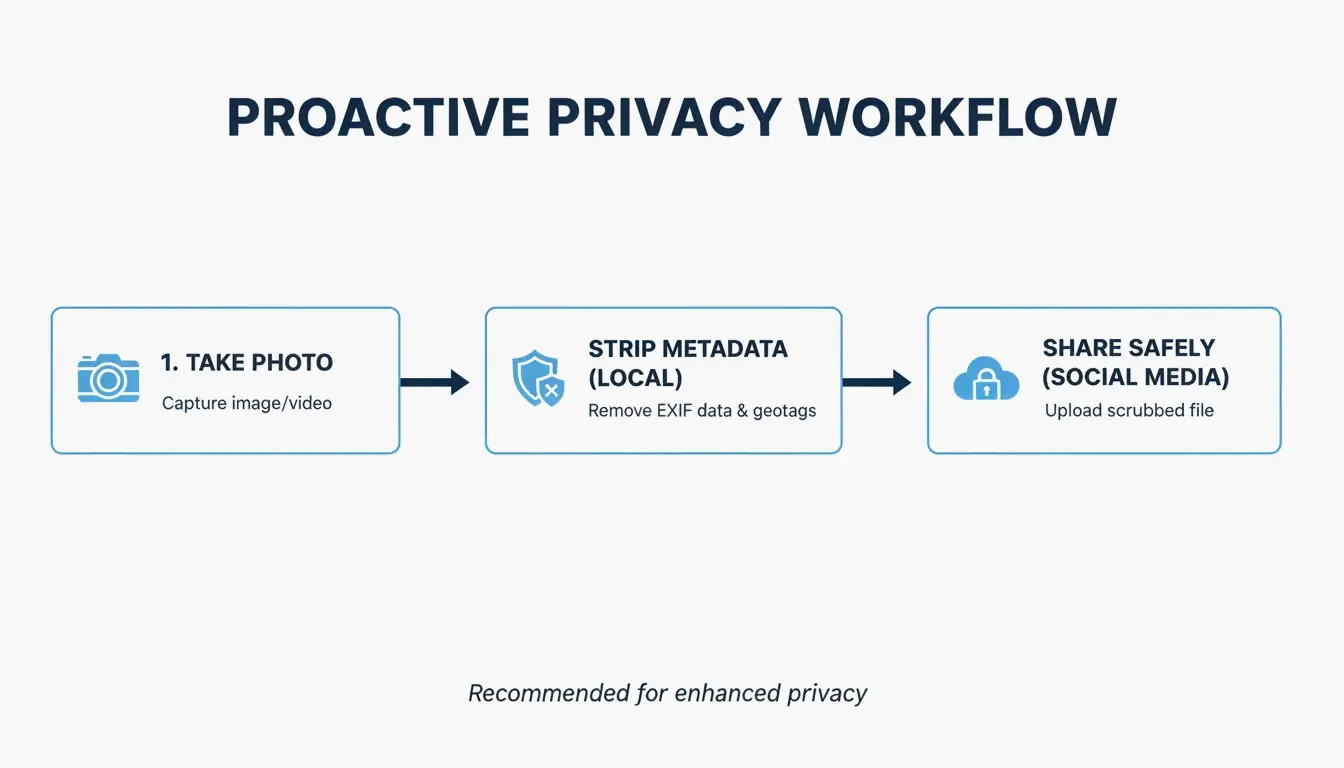
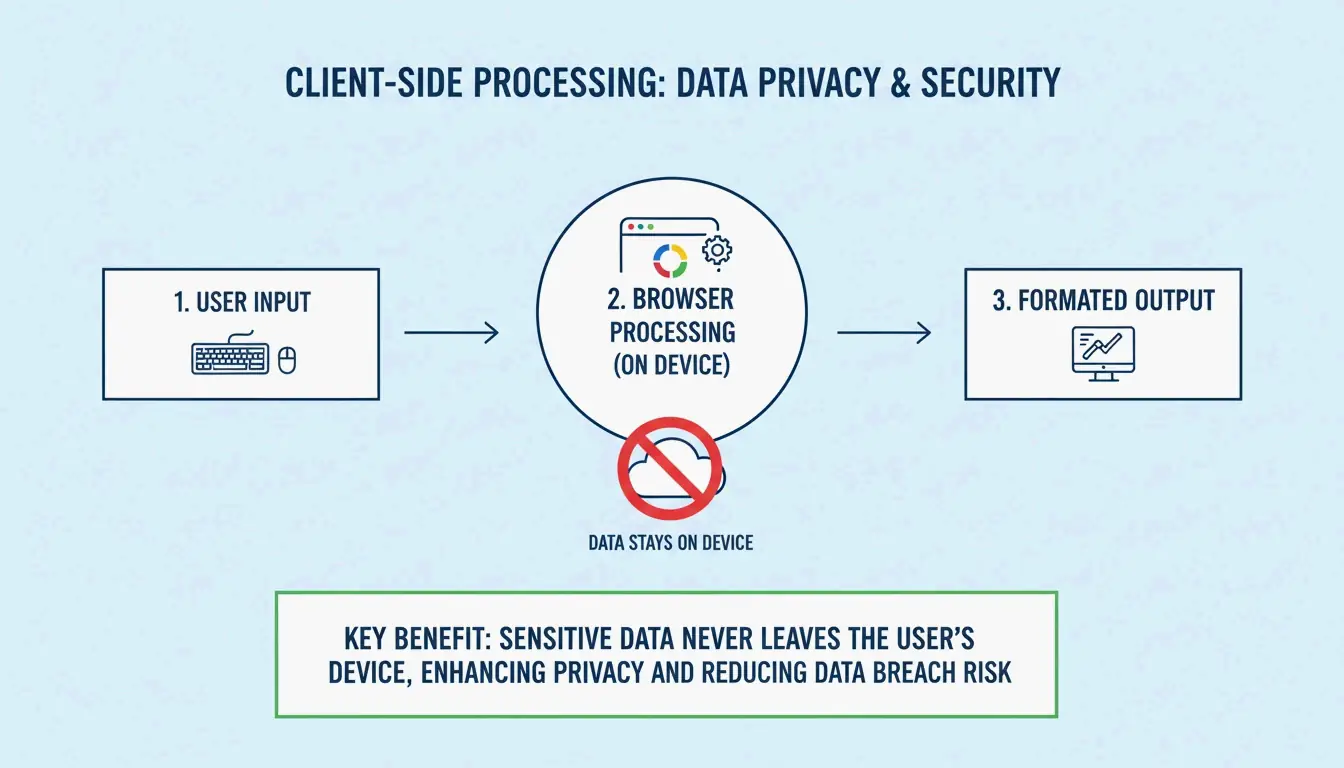
Privacy-First Workflows: Removing Watermarks Without Data Leaks
For sensitive client work, free online tools pose a risk: they may store your images or use prompts for model training. A privacy-first approach uses local Python scripts or GitHub-hosted tools like the Gemini Watermark Remover extension, which processes everything on your device.
When using browser-based tools, be cautious with Canvas Fingerprint Defenders. As noted in the GargantuaX repository, these privacy extensions can interfere with the mathematical precision needed for clean watermark removal.
Privacy checklist:
- Use a dedicated browser profile for image work.
- Verify the tool does not require file uploads to a server.
- Test by disconnecting Wi-Fi — if the tool still works, processing is local.
Conclusion
Professional watermark removal in 2026 requires a two-part strategy: use mathematical tools like Reverse Alpha Blending for visual quality, and respect digital markers like SynthID for ethical and legal compliance. Start with a local tool like Gemini Watermark Cleaner for pixel-perfect accuracy on static logos. For large-scale content management, GStory AI’s credit-based system is more efficient. Always verify final metadata and disclose AI origins to maintain professional standards.
FAQ
Is it illegal to remove a Google Gemini watermark for personal use?
Generally, removing a watermark for personal backups, archives, or private study falls under fair use. However, using the cleaned image commercially without disclosing its AI origin may violate Google’s Terms of Service or 2026 AI content labeling regulations. Always check the laws in your jurisdiction.
Does removing a visible watermark also strip the invisible SynthID or metadata?
No. While standard metadata (EXIF) can be stripped, SynthID is embedded in the pixel frequency itself. It is designed to survive visual edits including cropping and retouching. Only aggressive re-encoding might affect it, but that typically degrades image quality to an unusable level.
How can I remove watermarks from AI-generated videos without flickering?
To prevent flickering or warping, use tools that enforce Temporal Consistency. Instead of frame-by-frame editing, apply mask-tracking across the entire video sequence. In 2026, exporting the final video using the H.266 (VVC) codec is the recommended method to preserve the highest visual quality and stability in restored areas.