Every time you shuffle a Spotify playlist, a random number generator decides the order. When a teacher picks a student to answer a question, a random number generator makes the selection. When you secure your bank login with two-factor authentication, a random number generator creates the code. Behind these everyday actions lies a family of algorithms and hardware systems that most people never think about — yet the quality of their randomness determines whether your data is secure, your lottery is fair, and your software works correctly.
The field has evolved rapidly. In 2026, processors from Intel and AMD include built-in hardware random number generators. The Linux kernel uses a ChaCha20-based cryptographically secure generator. Browser APIs like crypto.getRandomValues() give web developers access to high-entropy randomness without installing anything. At the same time, the applications for random generation have expanded far beyond cryptography and simulations into areas like classroom fairness, live-streamed giveaways, clinical trial randomization, and gaming tag creation.
This guide examines how randomness is produced, verified, and applied across six distinct but interconnected dimensions. Each one solves a different problem — from the theoretical foundations of entropy to the practical mechanics of pairing names with numbers — and together they reveal why “just use random()” is no longer sufficient for any serious application.
The Engine Room: Where Random Numbers Come From
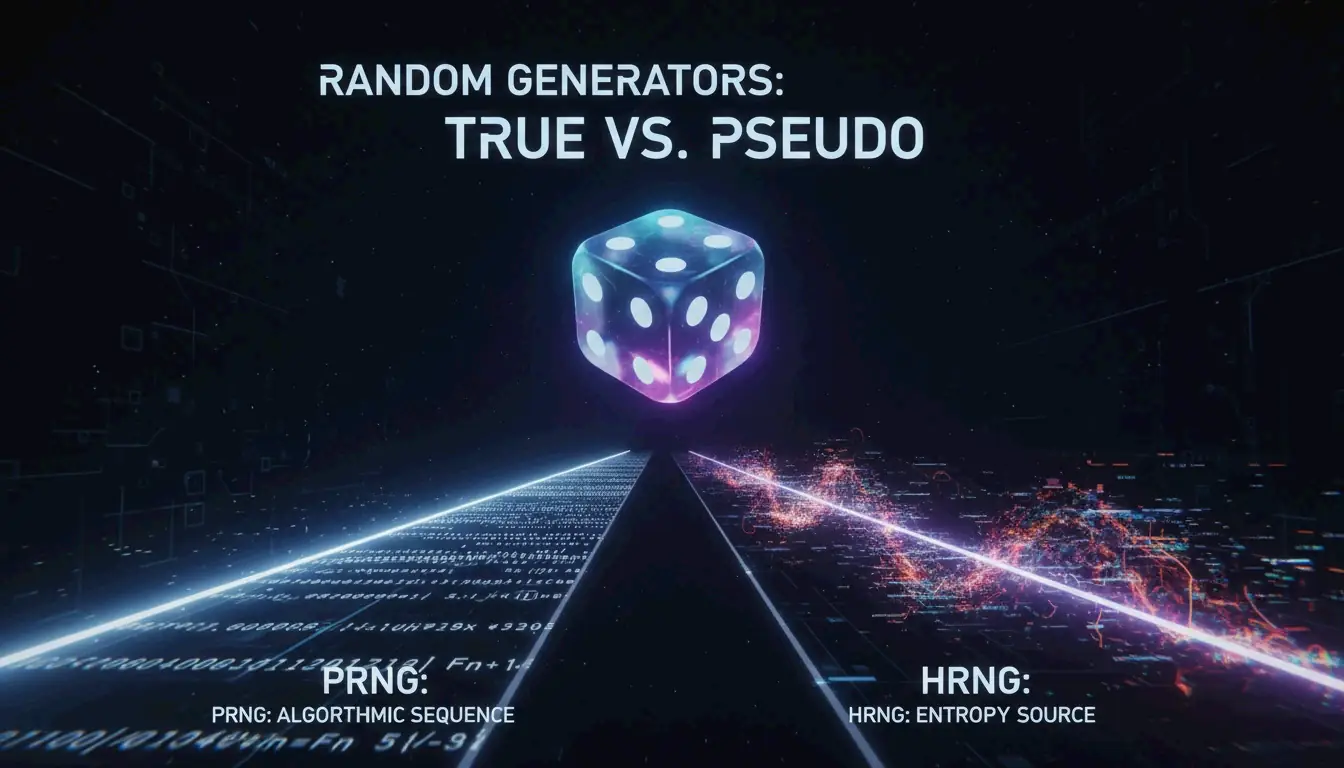
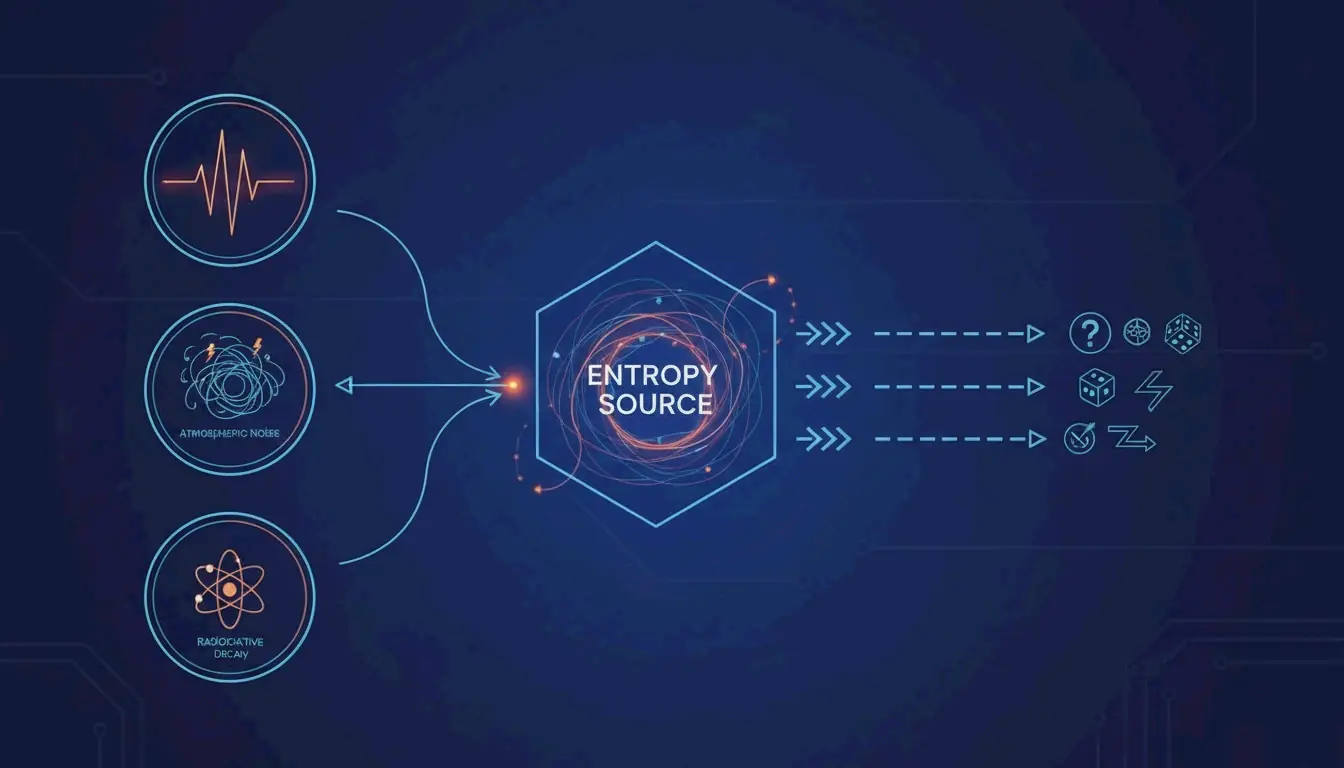
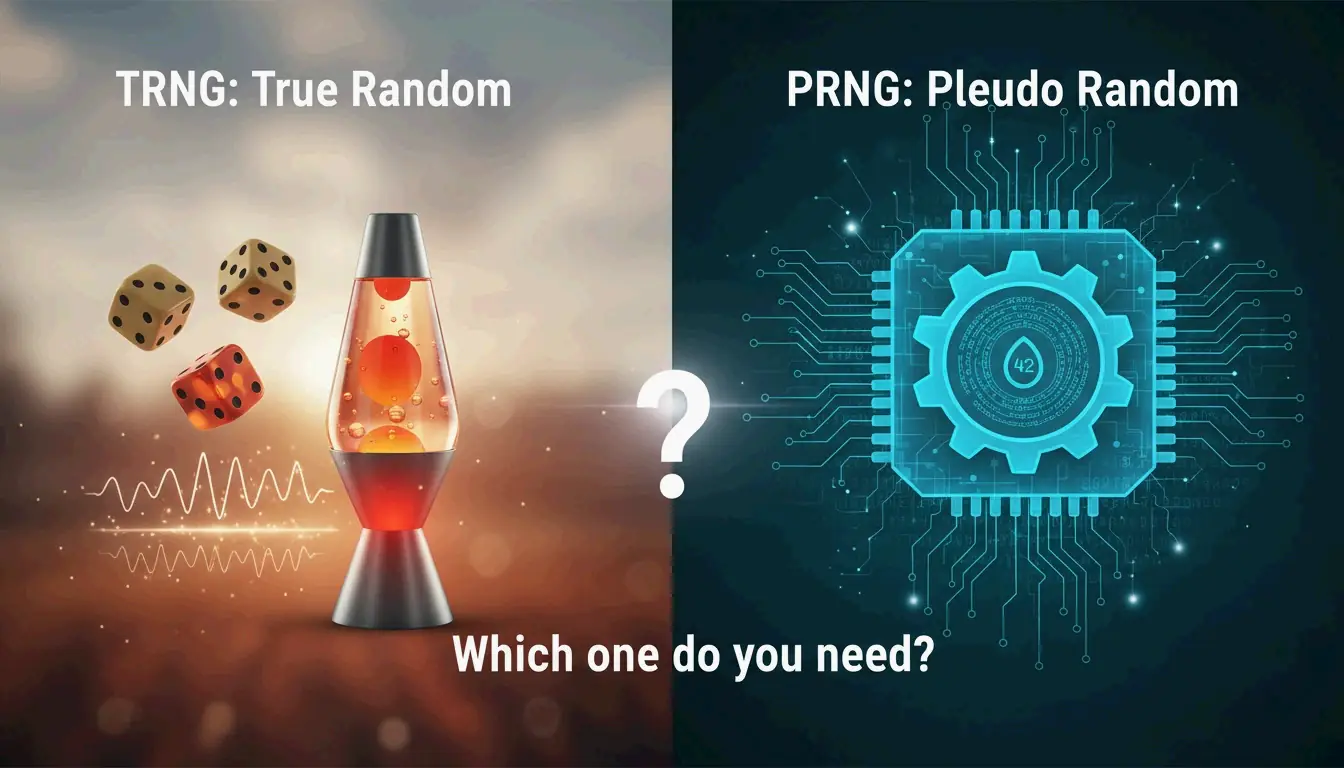
All random generation traces back to two sources: physical entropy (thermal noise, quantum effects, atmospheric noise) and mathematical algorithms. The tension between them defines the entire field.
True Randomness from the Physical World
True Random Number Generators (TRNGs) harvest unpredictability from physical phenomena. Cloudflare famously photographs a wall of lava lamps in its San Francisco office and hashes the images to produce high-entropy values. A 2026 hobbyist project by Joshua Coleman uses vintage neon lamps — their unpredictable discharge rates measured optically and processed by a Raspberry Pi Pico W to produce SHA-256 output. The pseudorandom number generator algorithms that power most software are fundamentally different from these hardware-based approaches because they are deterministic by nature.
The common thread: every TRNG converts a physical process into digital bits. The quality of that conversion — how much genuine entropy it captures versus how much pattern it introduces — determines the generator’s value for security-critical work.
Algorithmic Randomness and Its Limits
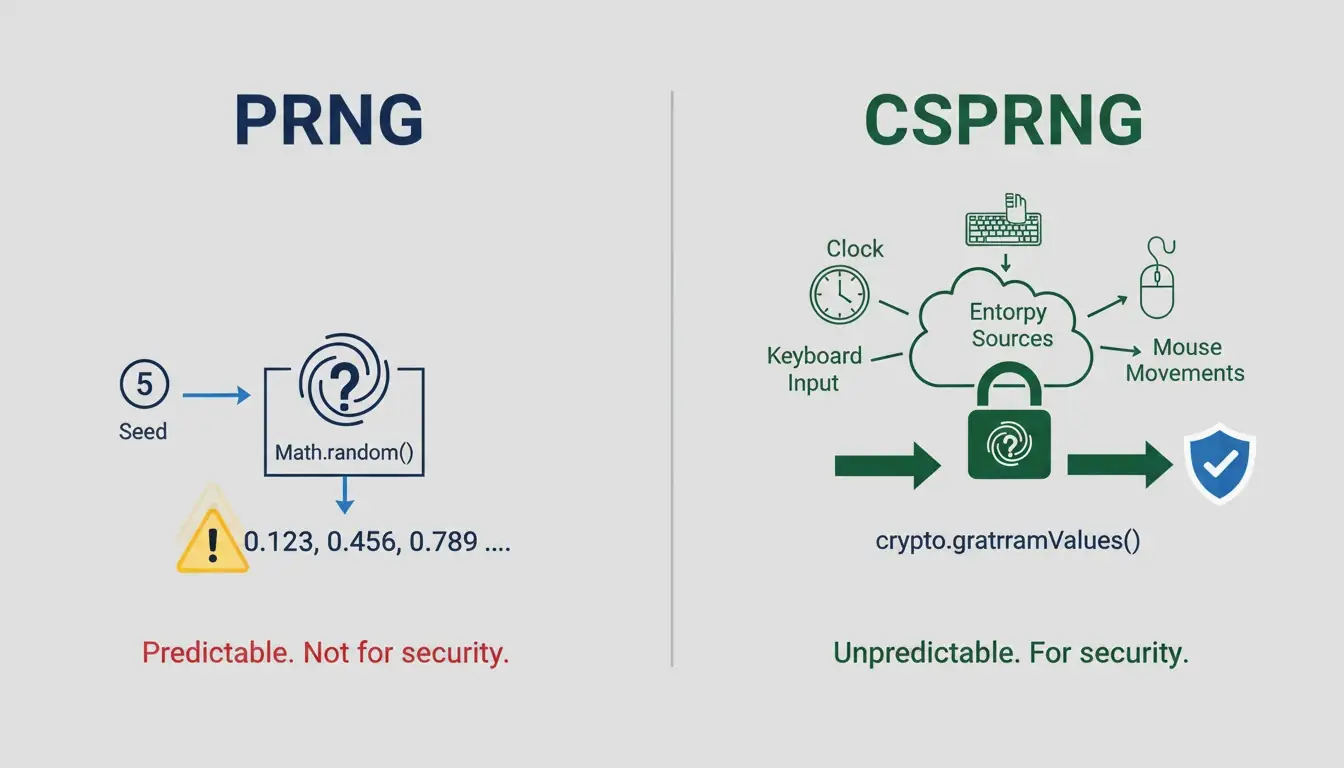
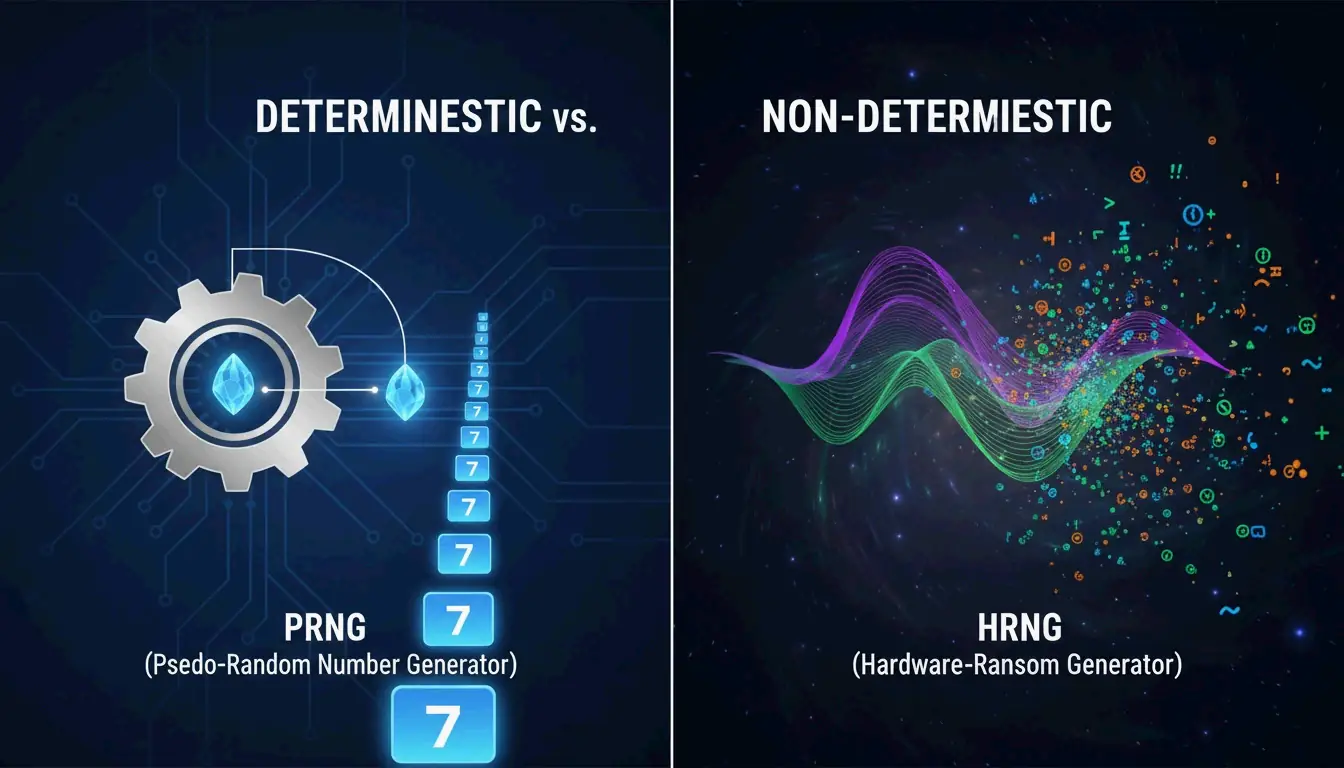
Pseudorandom Number Generators (PRNGs) start from a seed value and apply a mathematical transformation to produce a sequence that passes statistical tests for randomness. The Mersenne Twister (MT19937), default in Python since version 2.3, has a period of 2^19937 – 1 and excellent statistical properties. But it is not cryptographically secure: after observing roughly 624 consecutive outputs, an attacker can reconstruct its internal state and predict every future number.
This is not a theoretical concern. The Mersenne Twister powers simulations, games, and procedural content worldwide. It works because reproducibility (same seed, same sequence) is valuable for debugging Monte Carlo simulations and scientific experiments. But for anything involving security, money, or legal fairness, a PRNG is the wrong tool.
The Hybrid: Cryptographically Secure Generators
Cryptographically Secure Pseudorandom Number Generators (CSPRNGs) bridge the gap. They use a high-entropy seed from a TRNG or the operating system’s entropy pool, then apply a carefully designed algorithm (like ChaCha20) to produce an unlimited stream of numbers that are computationally indistinguishable from true randomness. This is what crypto.getRandomValues() uses in browsers, what /dev/urandom provides on Linux, and what SecureRandom delivers in Java.
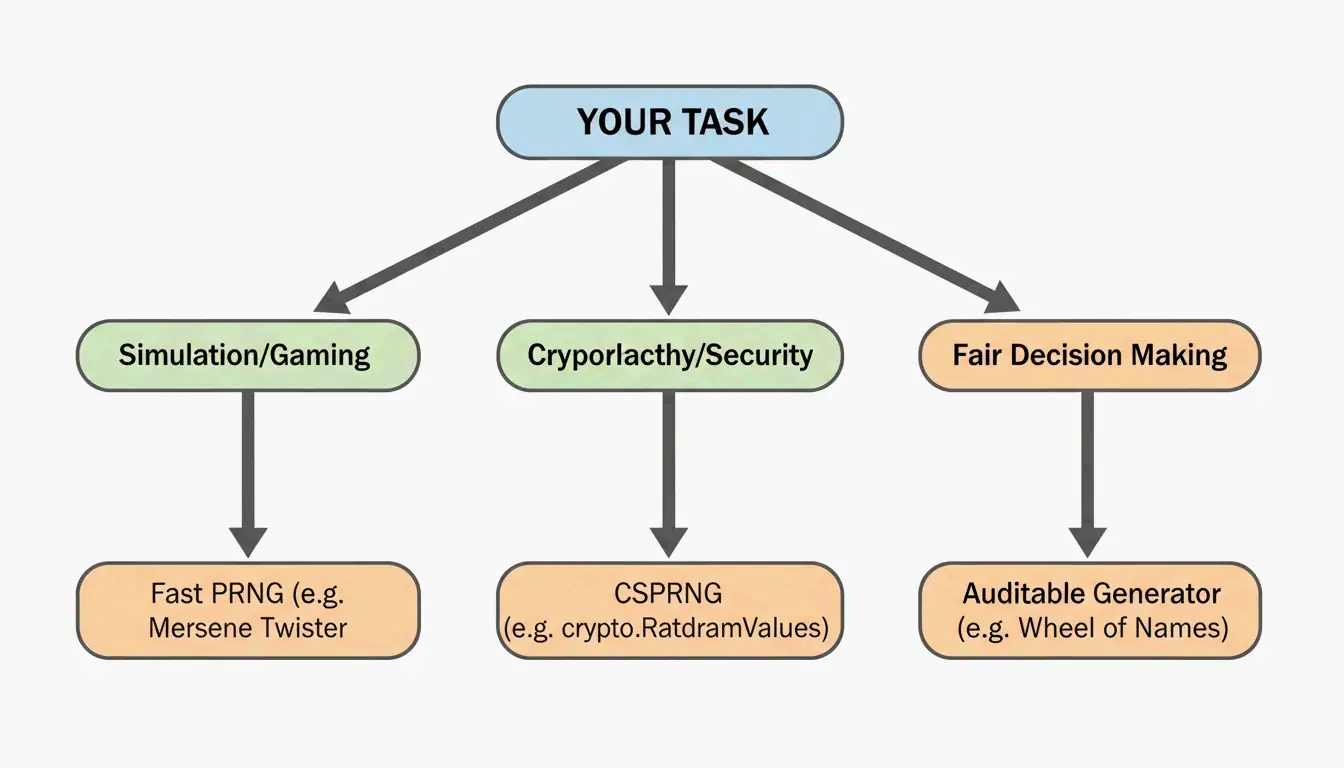
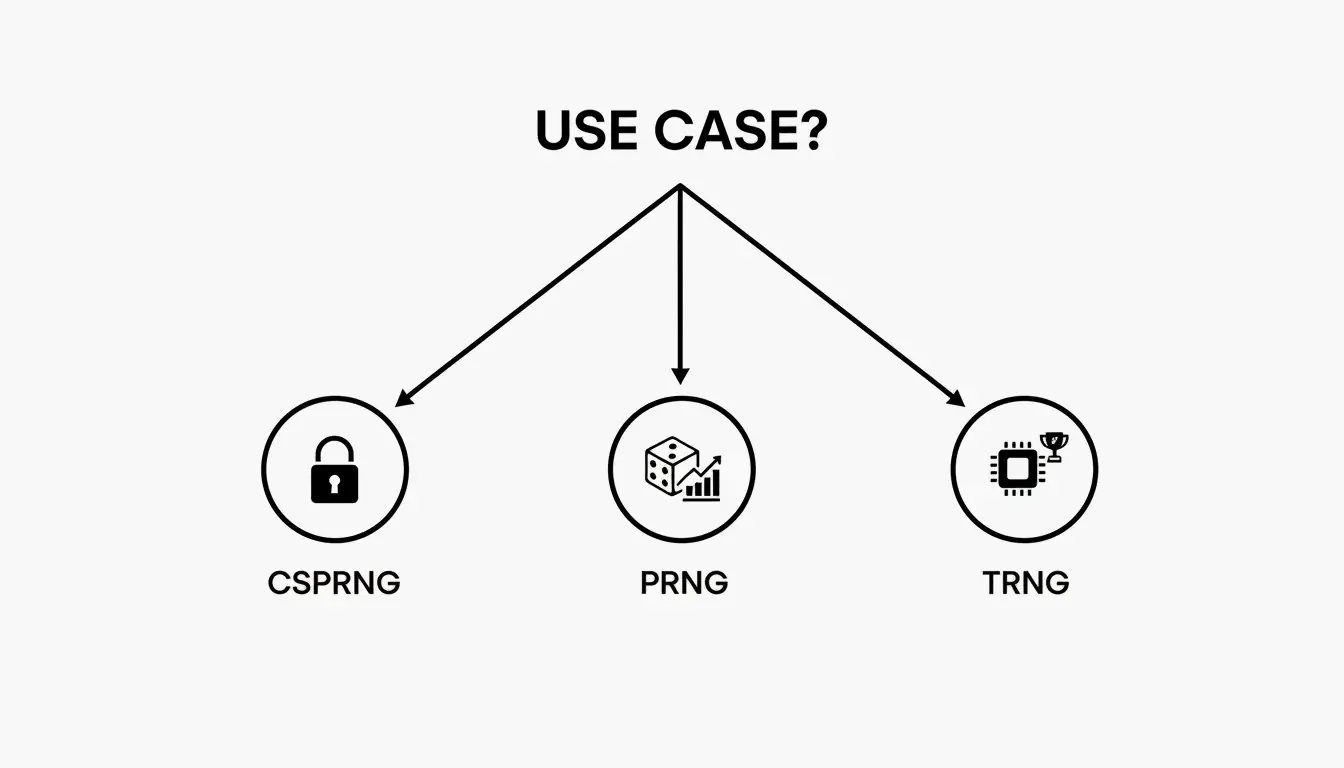
The hierarchy is clear: TRNGs for the highest assurance, CSPRNGs for all practical security, and plain PRNGs for simulations and games where predictability is either harmless or desirable.
When Randomness Fails: Security, Fairness, and Real Consequences
The theoretical distinction between generator types becomes painfully concrete when things go wrong. Understanding failure modes is essential because the stakes are financial, legal, and reputational.
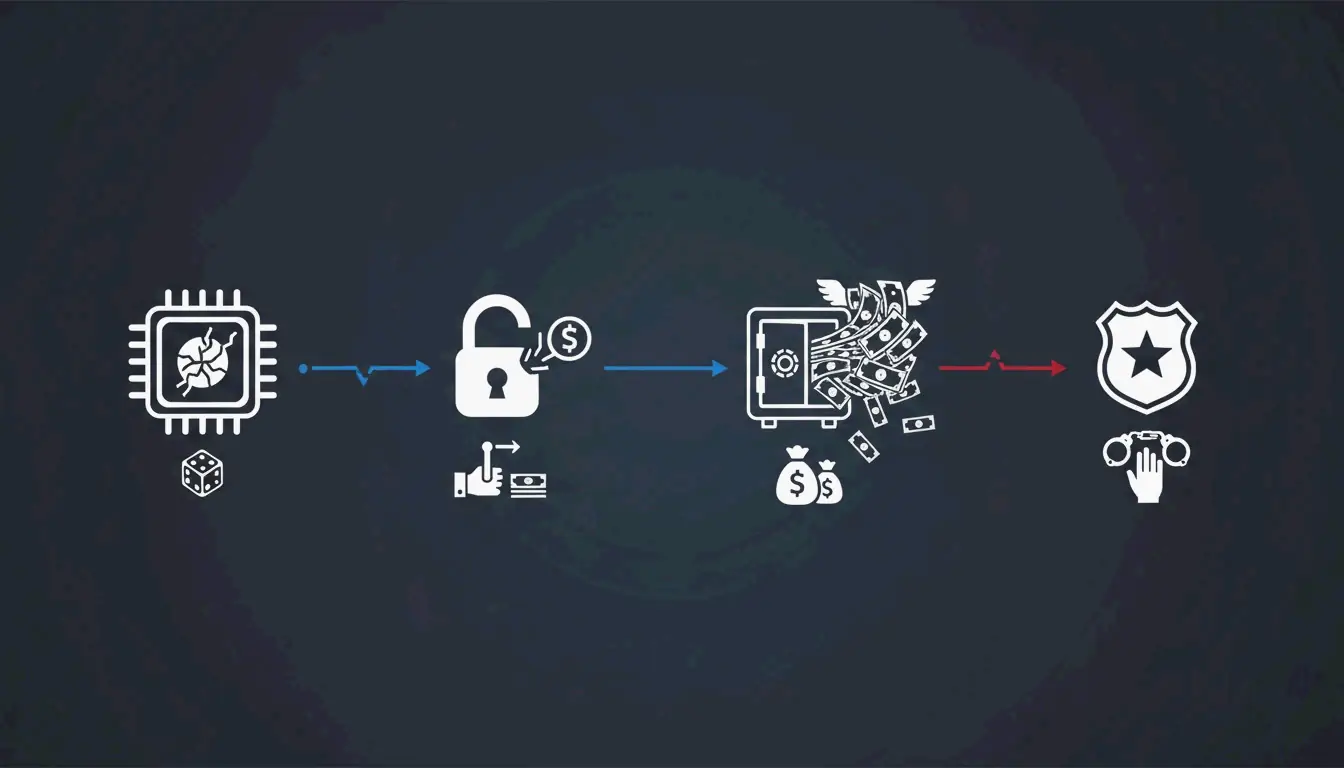
The $16.5 Million Lottery Rigging
The most dramatic case of failed randomness occurred in the U.S. Multi-State Lottery Association. The organization’s information security director installed backdoor malware on the secure RNG computer during routine maintenance. Over several years, he predicted lottery numbers and won $16.5 million. The attack exploited a fundamental principle: a generator is only as trustworthy as its software and hardware chain. For a deeper examination of how lottery rigging exploits weak generators and what makes randomness testable, the cluster article on random numbers provides the full technical breakdown.
A separate 2012 incident demonstrated that even small imperfections matter: a 99.8% randomness flaw in an online encryption system affected an estimated 27,000 customers. The gap between 99.8% and 100% was enough to compromise security at scale.
Predictable Seeds: The Most Common Mistake
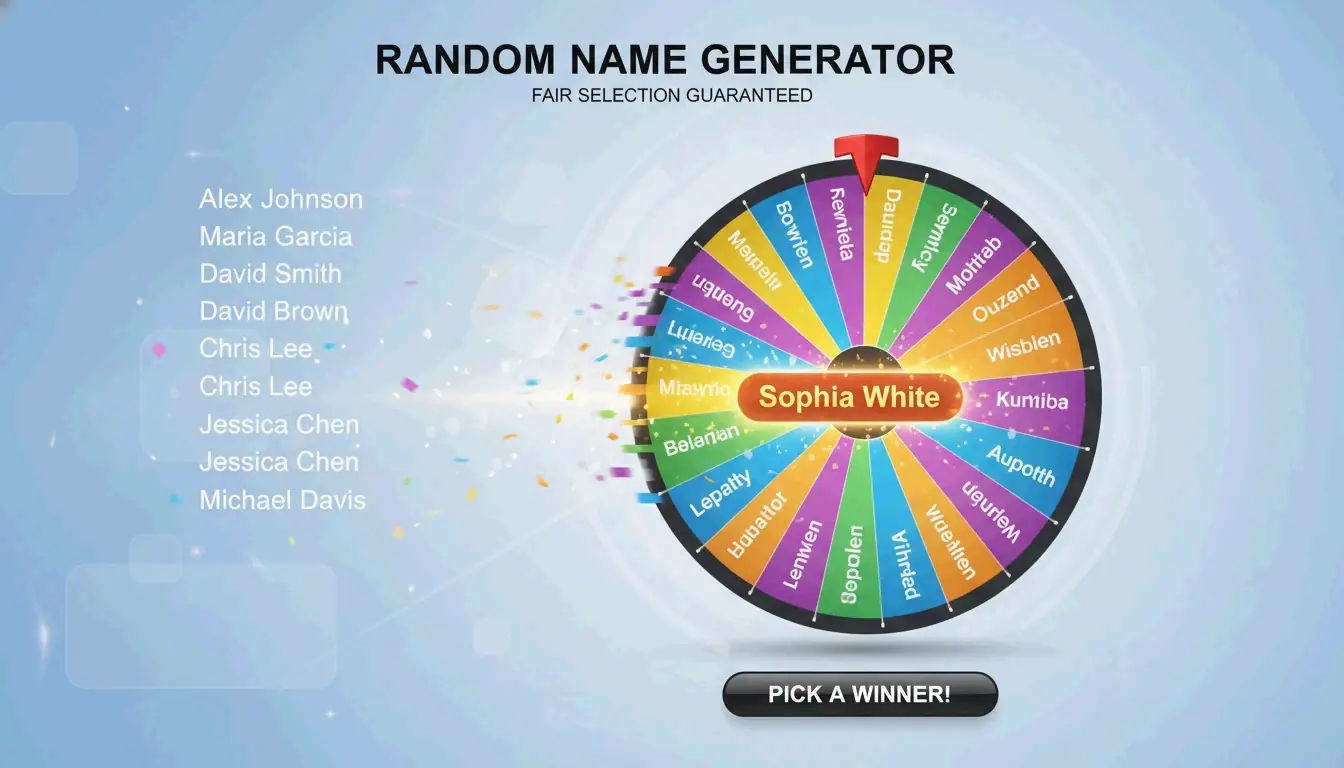
Using Math.random() in JavaScript or random.random() in Python for security-sensitive operations is a mistake that persists across codebases worldwide. These functions use PRNGs whose internal state can be reconstructed. Wheel of Names, a platform that recorded over 462 million spins and 1.28 million hours of spinning in 2026, explicitly avoids Math.random() in favor of crypto.getRandomValues(). When 462 million interactions depend on your randomness quality, the algorithm choice is not academic — it is operational infrastructure.
The cryptographically secure pseudorandom number generator standard (NIST SP 800-90A) defines the algorithms that should replace Math.random() in every security context: CTR_DRBG, Hash_DRBG, and stream ciphers like ChaCha20.
The Name-Number Spectrum: Six Problems, Six Solutions
Random generation becomes genuinely interesting when it interacts with human systems. The six areas below represent the major applications where randomness meets real-world decision-making, and they differ in ways that matter for implementation.
Foundational: Pure Number Generation and Generator Types
The bedrock layer covers how random numbers are produced, tested, and selected for specific use cases. This includes understanding entropy sources, choosing between TRNGs and PRNGs, and running statistical tests like the Chi-Square test to verify output quality. The technical guide on random numbers covers the full TRNG-vs-PRNG comparison, while the broader guide to random generator types explains algorithms like the Mersenne Twister and modern alternatives like Xoroshiro128+.
The key insight: generator selection is a trade-off between speed, reproducibility, and security. No single generator type is optimal for all contexts.
Combined Generation: Fusing Names and Numbers into Identifiers
Combined generators produce a single fused string like “BoldTiger#4827” — a name and a number concatenated into one identifier. This approach powers username generation on gaming platforms, contest code creation for promotions, and gaming tag assignment for tournaments.
The critical engineering challenge is collision probability. With 10,000 names and numbers from 0 to 9,999, you get 100 million combinations. The Birthday Problem means that collisions become likely (50% chance) when you have generated roughly the square root of the total pool size. Discord learned this the hard way: their 4-digit discriminator system (name#1234) gave only 10,000 combinations per name, and at their scale, collisions became unmanageable. They migrated to unique handles in 2023.
Combined name-number generation sits at the intersection of usability and randomness. The format is human-friendly enough to remember, yet random enough to ensure uniqueness at scale.
For building combined generators in production, the cluster article on random name number generators provides complete Python, JavaScript, and Java implementations with word filtering pipelines and collision management strategies.
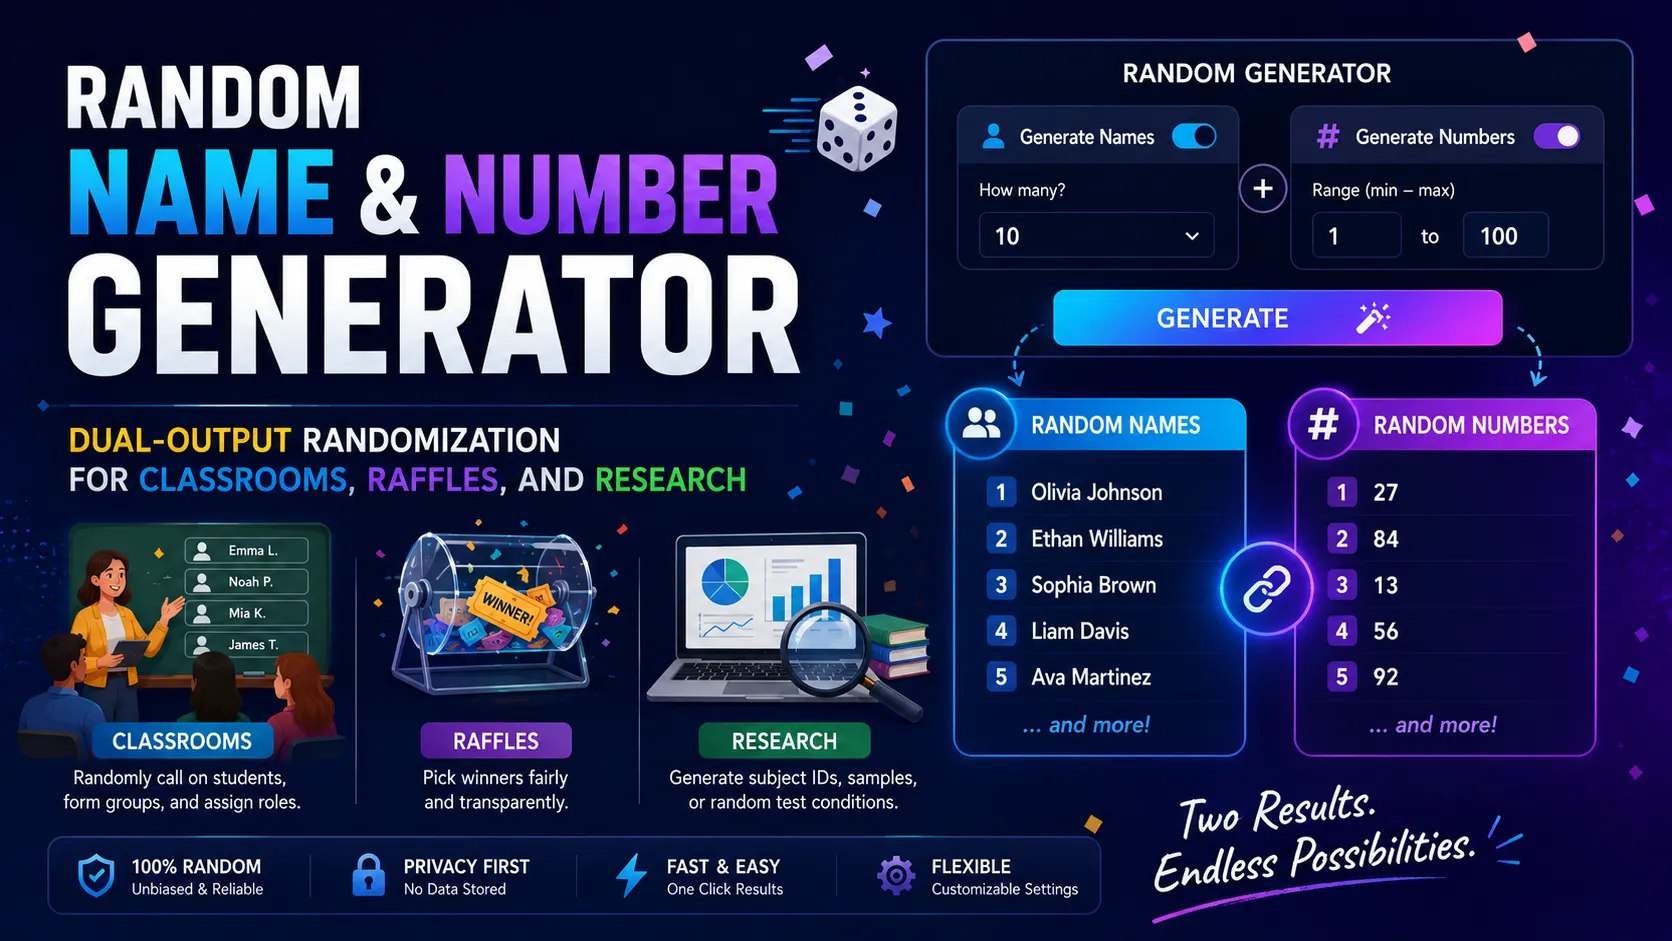
Dual-Output Generation: Independent Name and Number
A fundamentally different model produces two separate outputs: a randomly selected name from a list and an independently generated number. The name identifies a person; the number serves as a code, position, or reference with its own meaning.
The critical distinction is independence. In a combined generator, the name and number serve a single purpose. In a dual-output generator, they serve two different purposes simultaneously.
This distinction is not academic. Research published in the Journal of Educational Psychology (2024) found that random student selection in classrooms reduced participation bias by 28% compared to voluntary hand-raising, with teachers spending 40% less time on selection logistics. The UK Gambling Commission’s 2025 guidelines recommend electronic random selection over manual draws, noting that it “provides a verifiable audit trail that physical methods cannot match.”
For high-stakes scenarios, the gold standard is a commitment-reveal scheme: publish a cryptographic hash of the random seed before the draw, reveal the seed afterward, and let anyone verify the match. The cluster article on random name and number generators covers this pattern along with weighted selection, stratified assignment, and block randomization for clinical trials.
Fair Selection: Giveaways, Raffles, and Live Events
The end-user application layer brings randomness into contact with audiences who need to see and trust the process. Tools like Wheel of Names provide visual wheel spinner interfaces that make randomness visible and engaging. The critical feature for multi-prize events is non-repeat mode, which removes selected entries from the pool to prevent duplicate winners.
The Fisher-Yates shuffle underpins fair multi-winner selection by ensuring every possible permutation of a list is equally likely. Generate-Random.org uses a partial Fisher-Yates shuffle to select exactly N winners from a pool without bias.
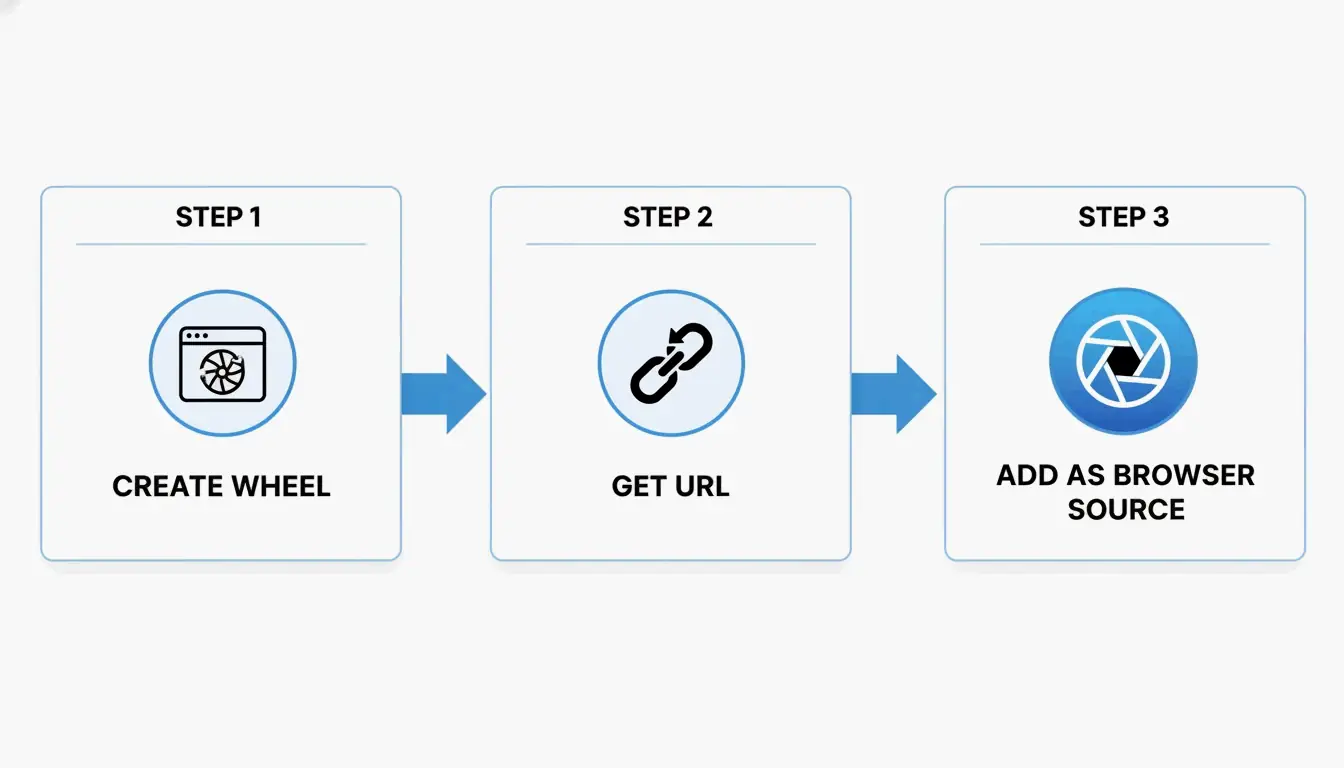
For streamers, these tools integrate directly with OBS via browser sources, turning random selection into interactive audience engagement. The cluster article on random number and name generators provides step-by-step OBS integration along with creative stream ideas.
Number-to-Name Assignment: Fairness as a Discipline
Assigning numbers to names — whether for raffles, classroom picks, tournament seeding, or shift scheduling — is the most common fairness application of randomness. The shuffle-then-number approach guarantees unique numbers with zero collisions by randomly ordering the name list and assigning sequential positions.
The pitfall most people miss is the birthday paradox: with 23 names and a range of 1-365, there is a 50% chance of a duplicate when assigning numbers independently. This is why shuffle-then-number is superior to independent random assignment for most use cases.
The key requirement in all these scenarios is that the assignment is unpredictable and uniform — every name has an equal probability of receiving any number.
When fairness has legal or financial stakes, the requirements escalate. Major esports tournaments use CSPRNGs with auditable code, public randomization ceremonies, and third-party verification. Raffle systems that use a two-step process — shuffle to assign numbers, then a separate draw to pick the winning number — prevent organizers from manipulating results because the winning number is generated independently.
For cases where equal probability is not the goal, weighted random selection allows different names to have different probabilities, proportional to ticket purchases or participation history.
Choosing the Right Approach: A Decision Framework
The relationship between these six areas is not linear — it is a matrix of trade-offs. Ask three questions:
-
Is security involved? If yes, use a CSPRNG. No exceptions. This eliminates
Math.random(),random.random(), and the Mersenne Twister. Usecrypto.getRandomValues(),secrets, orSecureRandom. -
Are you generating identifiers or making selections? Identifiers (usernames, contest codes) use combined generation. Selections (picking winners, assigning positions) use number-to-name assignment or dual-output generation.
-
What are the stakes? Low-stakes (classroom games, casual picks): any PRNG is fine. Medium-stakes (promotional giveaways, team assignments): use a CSPRNG for credibility. High-stakes (lotteries, clinical trials, legal raffles): use CSPRNG with audit trails, commitment-reveal schemes, and third-party verification.
The generator you choose, the algorithm it runs, and the transparency you provide around the process determine whether your application works reliably or fails publicly. The six dimensions covered in this guide give you the technical foundation to make those choices correctly — and the links below provide the deep implementation details for each specific application.