Category: Productivity

  • Free Online Photo Pixel Resizer: Resize Images Without Losing Quality (2026)

    Free Online Photo Pixel Resizer: Resize Images Without Losing Quality (2026)

    Upload, set dimensions, lock aspect ratio, download. A browser-based photo pixel resizer like BIRME or WebToolTrix completes this in milliseconds using client-side processing — your photos never leave your device.

    4-Step Workflow: Upload → Set → Lock → Download

    1. Upload — Drag and drop files into the resizer.
    2. Set dimensions — Enter target width/height (e.g., 1920×1080).
    3. Lock aspect ratio — Ensures proportional scaling, no distortion.
    4. Download — Export as JPG, PNG, or WebP.

    As FastTool notes: “An image displayed at 400px wide but delivered at 2000px wastes 96% of the downloaded pixels.” Resizing to actual display dimensions eliminates this waste.

    Aspect Ratio Lock: The Critical Setting
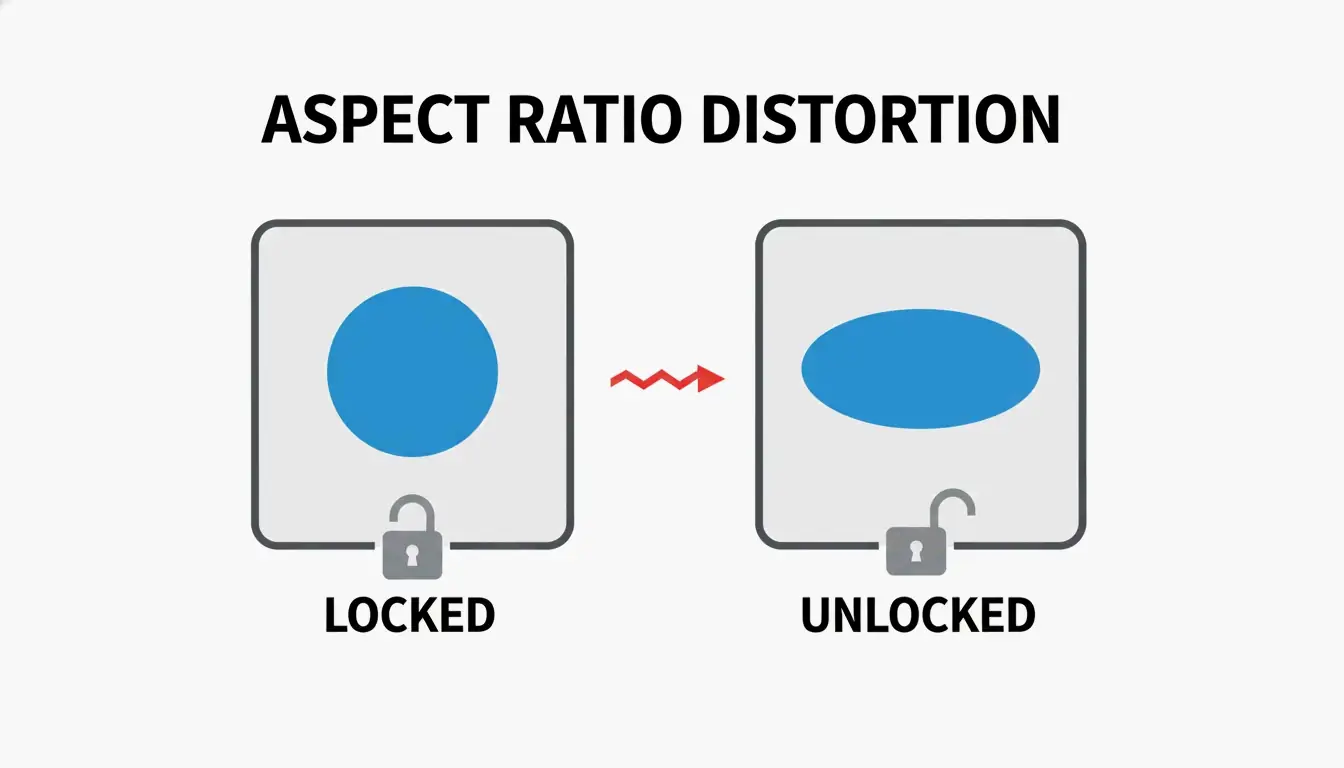
    Locked vs. unlocked aspect ratio comparison

    When you change width from 1920px to 800px with aspect ratio locked, height auto-adjusts to 450px. Unlocking the chain icon causes stretching and distortion.

    Client-Side Privacy

    Modern resizers use the HTML5 Canvas API for in-browser processing. As FreeConverto confirms, this means sensitive images (ID photos, personal portraits) never leave your device — zero server-side data risk.

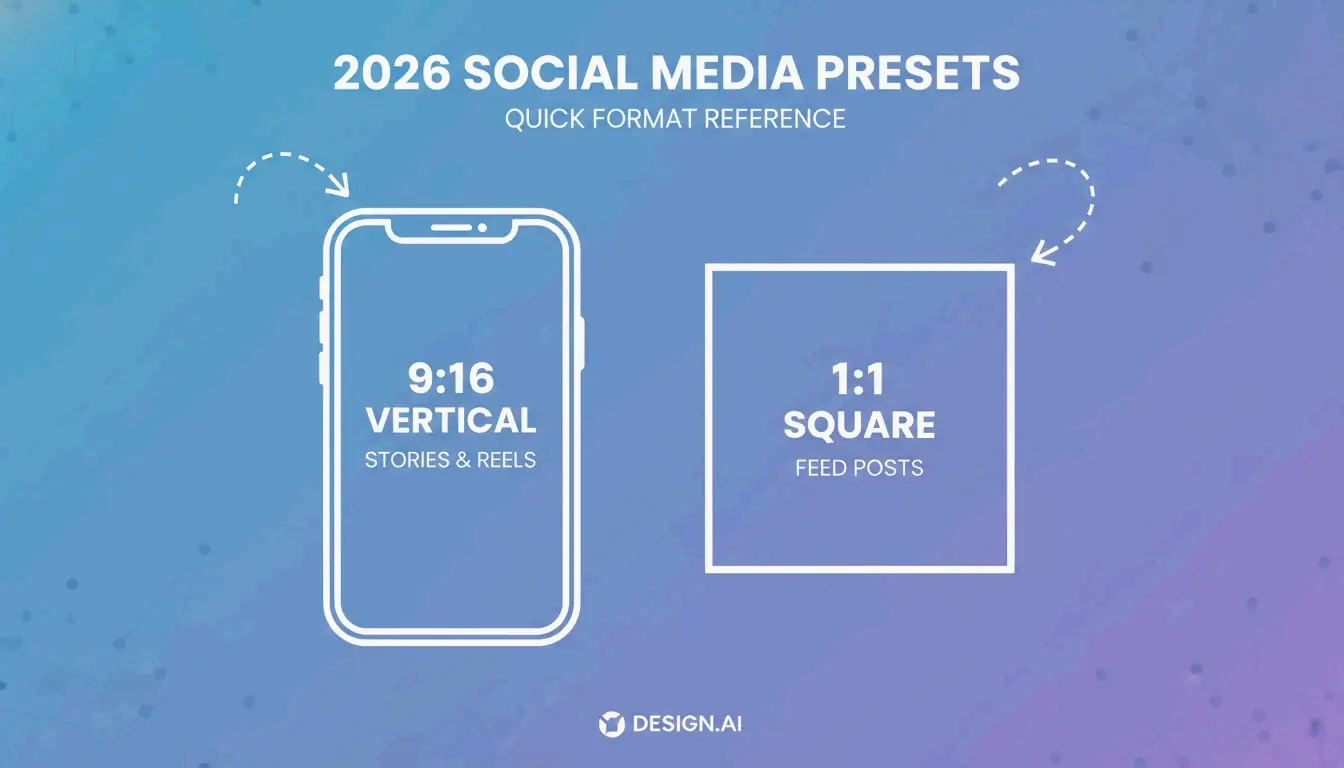
    2026 Social Media Dimension Presets

    Platform Format Dimensions (px) Aspect Ratio
    Instagram Square Post 1080 × 1080 1:1
    Instagram Story / Reels 1080 × 1920 9:16
    TikTok Video Cover 1080 × 1920 9:16
    YouTube Thumbnail 1280 × 720 16:9
    Facebook Shared Post 1200 × 630 1.91:1
    LinkedIn Profile Banner 1584 × 396 4:1

    Common social media aspect ratios

    Using platform-native dimensions prevents auto-cropping and compression artifacts.

    Format Selection

    Format Best For Size vs. JPEG
    WebP Web performance, transparency 25-35% smaller
    PNG Logos, text graphics (lossless) Larger, but pixel-perfect
    JPEG Universal compatibility Baseline
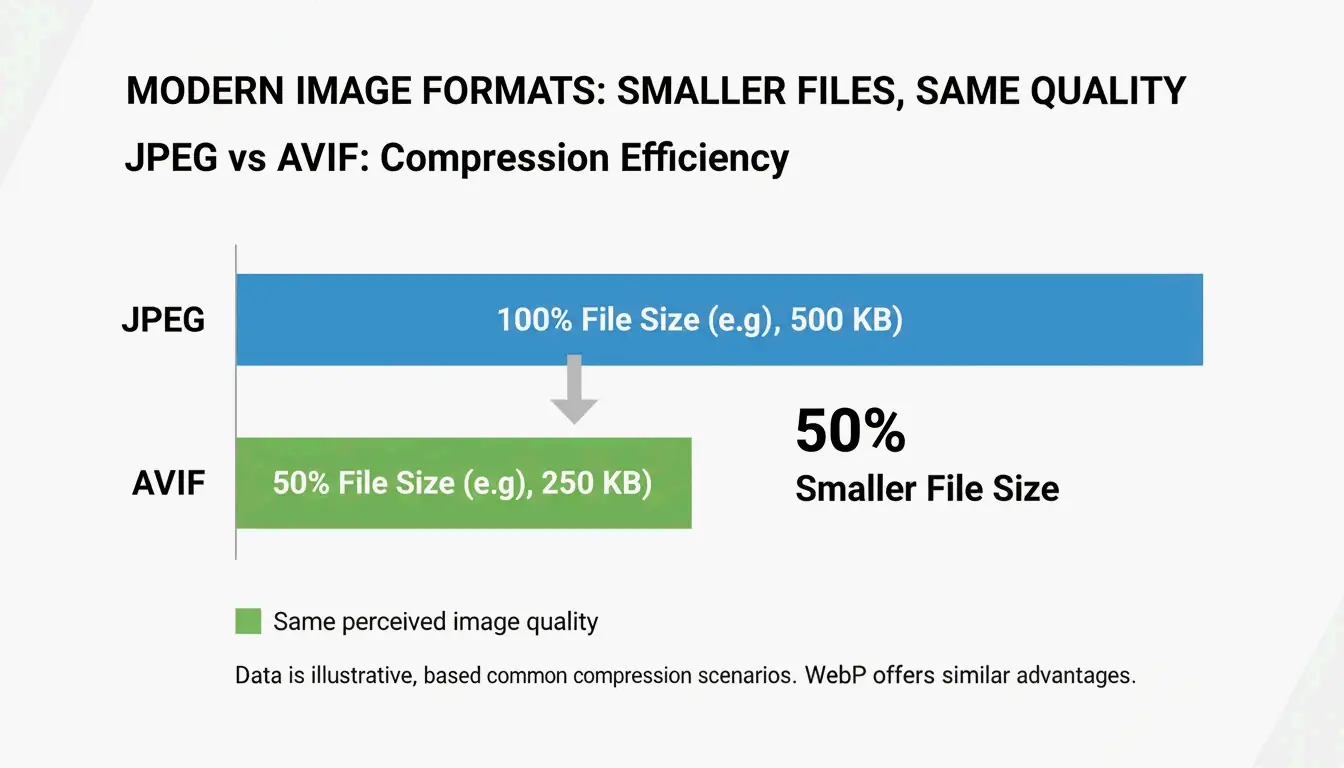
    AVIF Maximum compression Up to 50% smaller

    Batch / Bulk Resizing

    BIRME (50,000+ monthly users) applies one set of dimensions to an entire folder, then bundles results into a single ZIP download.

    Downscaling vs. Upscaling

    Direction Method Result
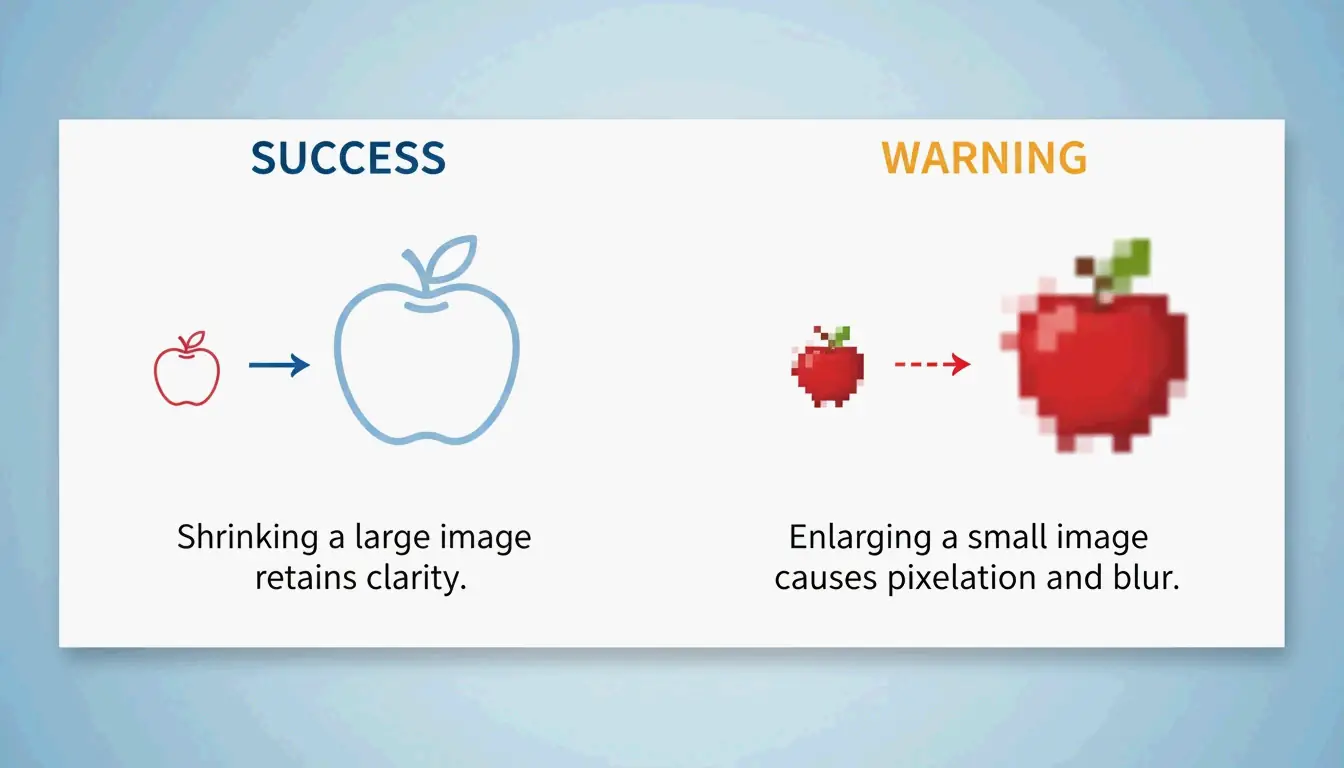
    Downscaling (larger → smaller) Data removal Sharp, clean output
    Upscaling (smaller → larger) Interpolation (Lanczos, Bicubic) Often blurry or pixelated

    Downscaling (sharp) vs. upscaling (blurry)

    For upscaling, use a dedicated AI upscaler — standard resizers are not designed for enlargement.

    KB Target Mode and Print DPI

    Government Portal KB Limits

    Many portals require images under 20KB or 50KB. Tools like WebToolTrix adjust dimensions and compression iteratively until hitting the exact target.

    Print DPI

    Use Case DPI A4 Pixel Dimensions
    Screen/Web 72-96 DPI N/A
    Professional print 300 DPI 2480 × 3508 px

    Modern resizers also support HEIC/HEIF decoding — upload iPhone photos directly and convert for web.

    Conclusion

    Resize photos by pixels using the Upload → Set → Lock → Download workflow. Lock aspect ratio to prevent distortion. Use social media presets for platform-native dimensions. For bulk work, use BIRME with ZIP batch download. For KB-limited uploads, use tools with target mode. Export as WebP for web, PNG for logos, and JPEG for universal compatibility.

    FAQ

    What is the difference between resizing and cropping?

    Resizing changes the overall pixel dimensions while preserving the entire image. Cropping removes portions of the image to change the framing or aspect ratio. Resizing a 4000px image to 1200px keeps all content but at lower resolution.

    Can I enlarge a small photo without losing quality?

    Standard resizers use interpolation (Lanczos, Bicubic) which produces blurry results when upscaling. For quality enlargement, use AI-powered upscalers that reconstruct detail using machine learning models rather than mathematical interpolation.

    How do I resize a photo to a specific file size (e.g., under 20KB)?

    Use a resizer with KB/MB target mode. The tool iteratively adjusts dimensions and compression quality until the output meets your exact size requirement. This is essential for government portals and job applications with strict upload limits.
  • How to Shrink Pictures Without Quality Loss: 2026 Resizing Guide

    How to Shrink Pictures Without Quality Loss: 2026 Resizing Guide

    Shrink a 6MB smartphone photo to 300-700KB by resizing to 1200px width and saving at 80-85% JPEG quality. For maximum compression, convert to AVIF or WebP. Built-in tools (Preview, Photos) handle single files; BIRME or ImageMagick handle bulk batches.

    Built-in Tools: Mac, Windows, and Mobile

    Mac: Preview

    1. Open image in Preview.
    2. Tools → Adjust Size.
    3. Ensure “Scale proportionally” is checked.
    4. Set target width (e.g., 1200px). Height adjusts automatically.

    Windows: Photos App

    1. Open image in Photos.
    2. Click three-dot menu (…) → Resize image.
    3. Select a preset or enter custom dimensions.

    Microsoft Paint alternative: Home → Resize → switch to “Pixels” → set width.

    iPhone: HEIC High Efficiency Mode

    Switch to Settings → Camera → Formats → High Efficiency. Photos save as HEIC — roughly 50% smaller than JPEG with no quality loss. Per Wondershare UniConverter, this is the single biggest space saver for iCloud Photos.

    Resizing vs. Compressing: What’s the Difference?

    Action What Changes Example
    Resizing Pixel dimensions (width × height) 4000px → 1200px
    Compressing File size (MB/KB) 6MB → 400KB

    Resizing removes pixels. Compressing re-encodes data more efficiently. Both reduce file size, but resizing delivers the largest savings.

    Bulk / Batch Resize Tools

    For hundreds of photos, use browser-based or command-line tools:

    Tool Platform Batch Support Privacy Command
    BIRME Browser Yes Local (JS) Drag-and-drop GUI
    Private Convert Browser Yes Local (JS) Upload interface
    ImageMagick CLI Yes Full offline magick mogrify -resize 1200x *.jpg
    sips (macOS) CLI Yes Full offline sips -Z 1200 *.jpg

    BIRME also offers Smart Cropping — AI detects the focal point and keeps it centered while trimming edges to fit new dimensions.

    Maintaining Aspect Ratio

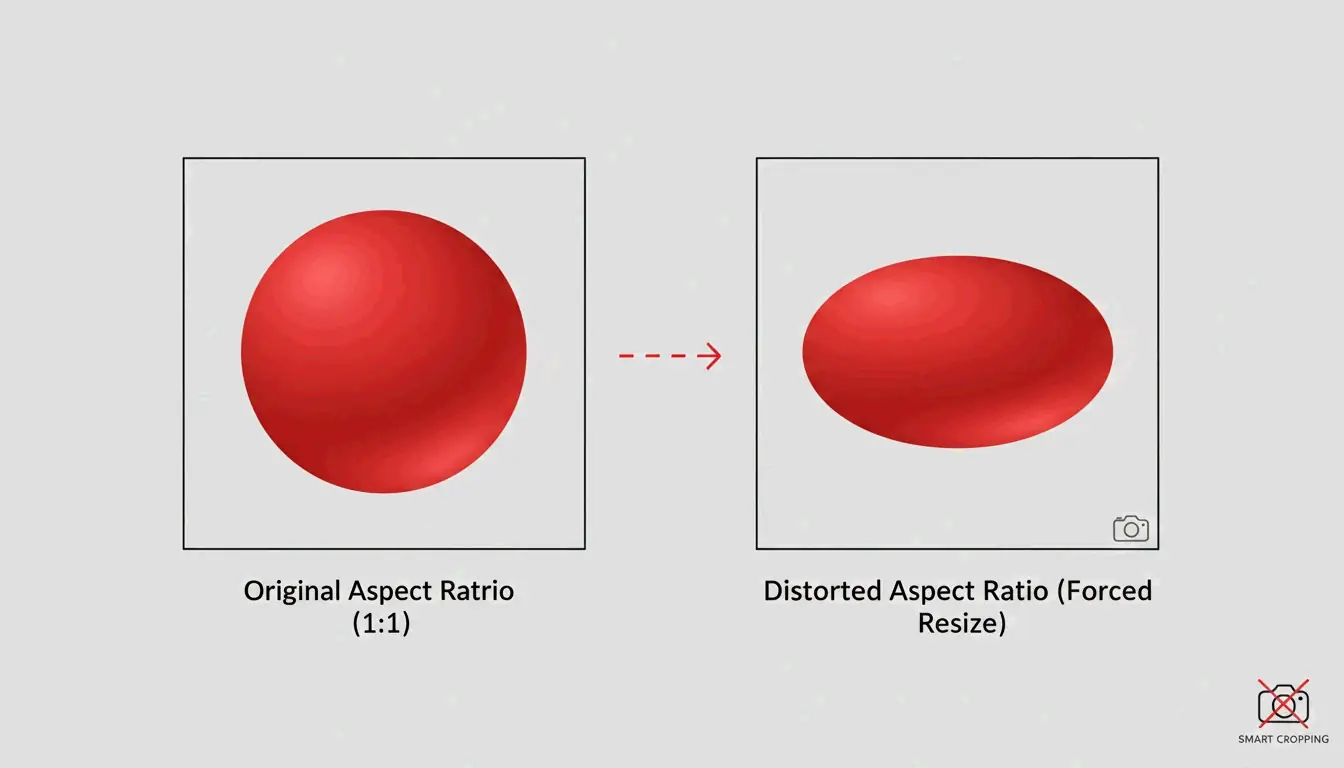
    Always resize proportionally. Forcing a rectangular image into a square without cropping causes visible stretching. Lock the aspect ratio, or use tools that auto-detect and preserve it.

    Correct aspect ratio vs. distorted stretching

    Format Decision Guide for 2026

    JPEG vs AVIF file size comparison

    Goal Format Why
    iPhone/Mac local storage HEIC 50% smaller than JPEG, native Apple support
    Website performance AVIF or WebP Up to 50% smaller than JPEG, 97%+ browser support
    Maximum compatibility JPEG (80%) Opens on any device, any OS

    Per Private Convert, AVIF offers 50% better compression than JPEG at equivalent visual quality.

    Social Media Dimensions: Pre-Resize to Avoid Auto-Shrink Blur

    Platforms like Instagram and TikTok apply aggressive auto-compression. Uploading 4K files often produces worse results than uploading at the platform’s native resolution.

    Platform Recommended Size Format
    Instagram/TikTok Reels 1080 × 1920 px JPEG or WebP
    Instagram Square Posts 1080 × 1080 px JPEG or WebP
    YouTube Thumbnails 1280 × 720 px JPEG

    Per the TikTok Creator Community, 1080p uploads often look sharper than 4K because the platform’s compression engine handles smaller files more cleanly.

    Conclusion

    Shrink pictures in three steps: resize to target dimensions using built-in tools or batch processors, maintain aspect ratio, and save in a modern format. For iPhone storage, switch to HEIC. For web, convert to AVIF or WebP at 80% quality. For social media, pre-resize to platform-native dimensions to avoid auto-shrink artifacts.

    FAQ

    What is the difference between resizing and compressing?

    Resizing changes pixel dimensions (4000px → 1200px). Compressing reduces file size by re-encoding data, often without changing dimensions. Both reduce file size, but resizing provides the largest reduction.

    Why do pictures look blurry after shrinking?

    Shrinking removes pixels. If you later enlarge the image, the computer must interpolate missing pixels, producing softness. Blurriness from compression occurs when quality drops below 60%, creating blocky artifacts.

    How do I resize images on my phone without installing an app?

    iPhone: Use the Shortcuts app to create a “Resize Image” shortcut that works from the Photos share sheet. Android: Open a browser-based tool like Private Convert in Chrome — resize in the browser without installing anything.

  • How to Compress Image Without Losing Quality (2026): Resize, Compress, Convert

    How to Compress Image Without Losing Quality (2026): Resize, Compress, Convert

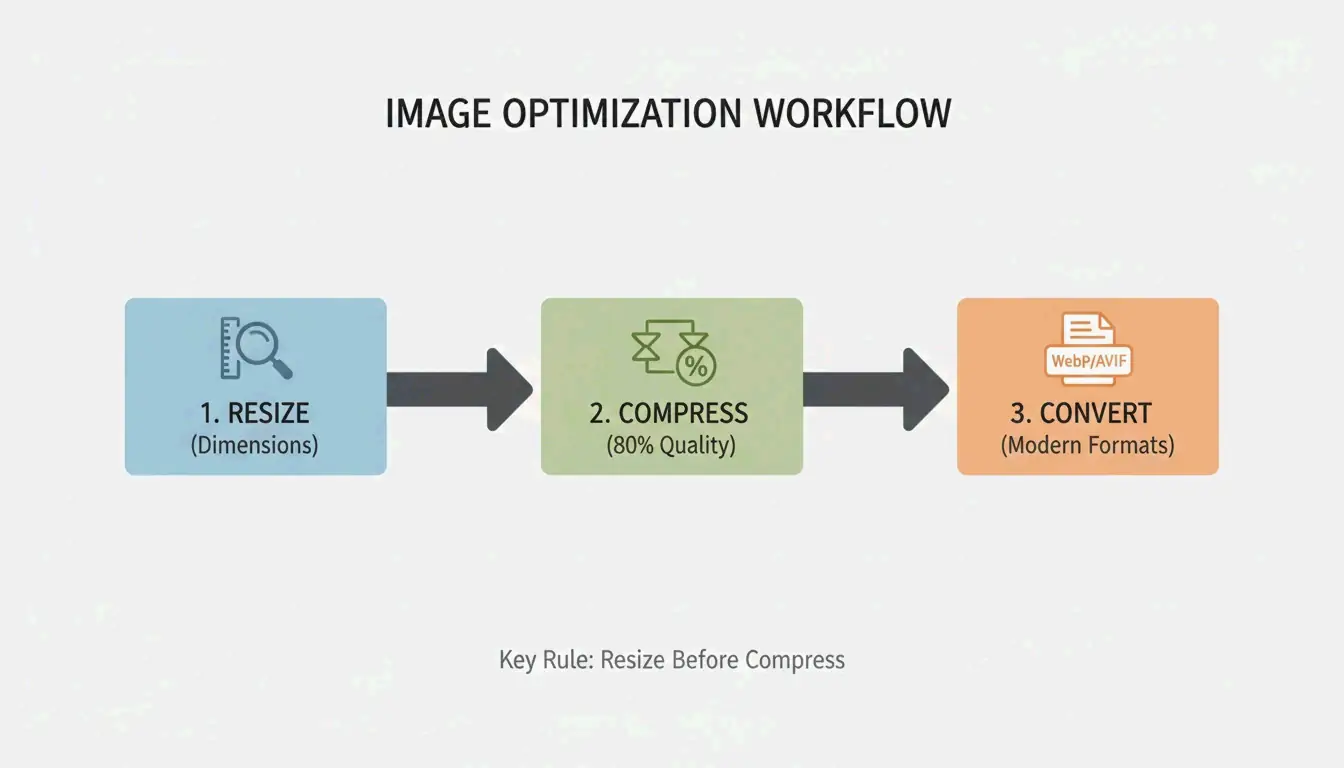
    Resize to display dimensions, compress at 75-85% quality, convert to WebP or AVIF. This 3-step workflow delivers up to 90% file size reduction with no perceptible quality loss. Here is the complete 2026 method.

    3-Step Workflow: Resize → Compress → Convert

    3-step compression workflow

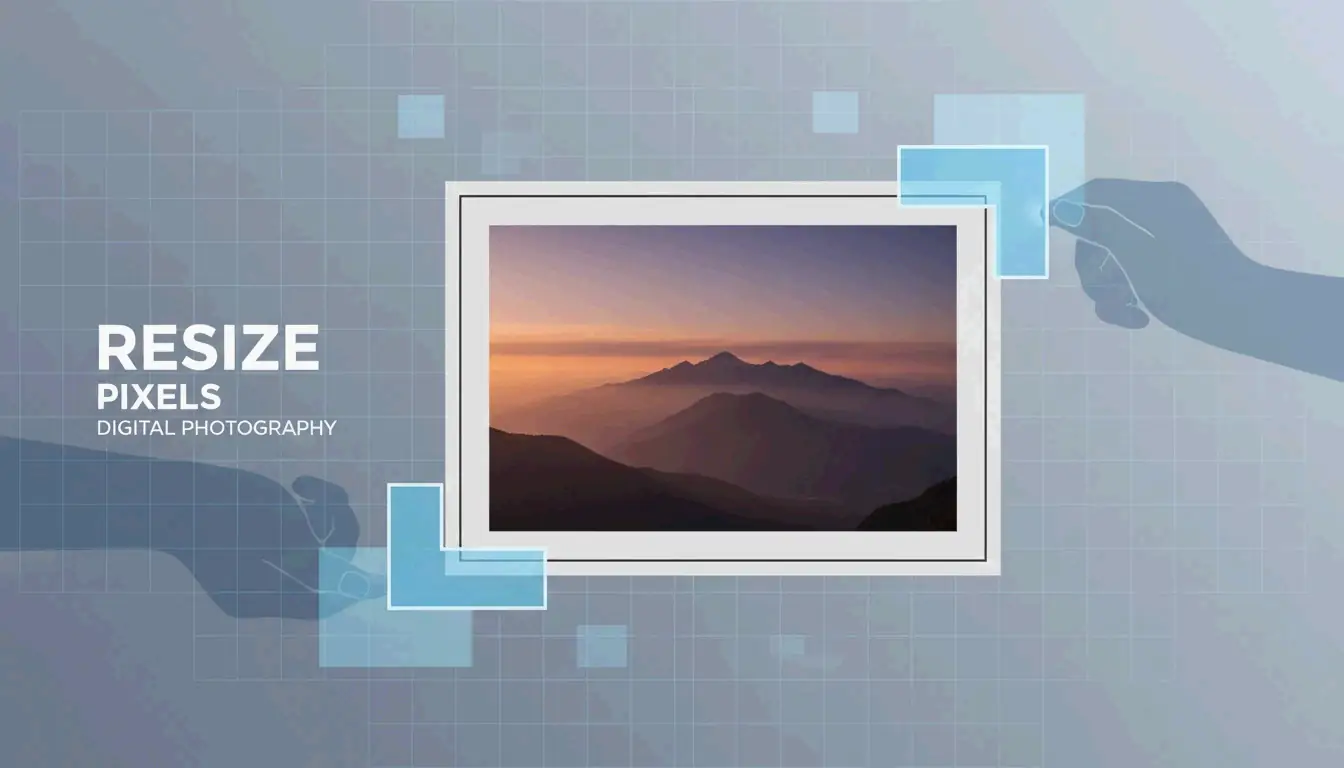
    Step 1: Resize to Display Dimensions

    The largest single optimization is matching pixel dimensions to display size. Modern phones shoot 4000-6000px wide — far beyond web needs. As G Saunders demonstrates, scaling from 18,000px to 800px achieved a 99% file size reduction before any compression.

    Use Case Recommended Width Typical File Size After Resize
    Blog hero image 1200px 200-400 KB
    Product photo 800px 80-200 KB
    Thumbnail 300-400px 20-50 KB
    Social media 1080px 100-300 KB

    Step 2: Apply Lossy Compression at 75-85%

    After resizing, apply lossy compression using encoders like MozJPEG. The 75-85% quality range is the sweet spot. Per Intellure, dropping from 100% to 85% quality cuts file size by 60% with virtually no visible difference.

    Quality Setting File Size Reduction Visual Impact
    90-100% 10-20% Identical to original
    75-85% 50-70% Imperceptible to human eye
    50-70% 70-85% Slight artifacts on close inspection
    Below 50% 85%+ Visible banding and softness

    Step 3: Convert to WebP or AVIF

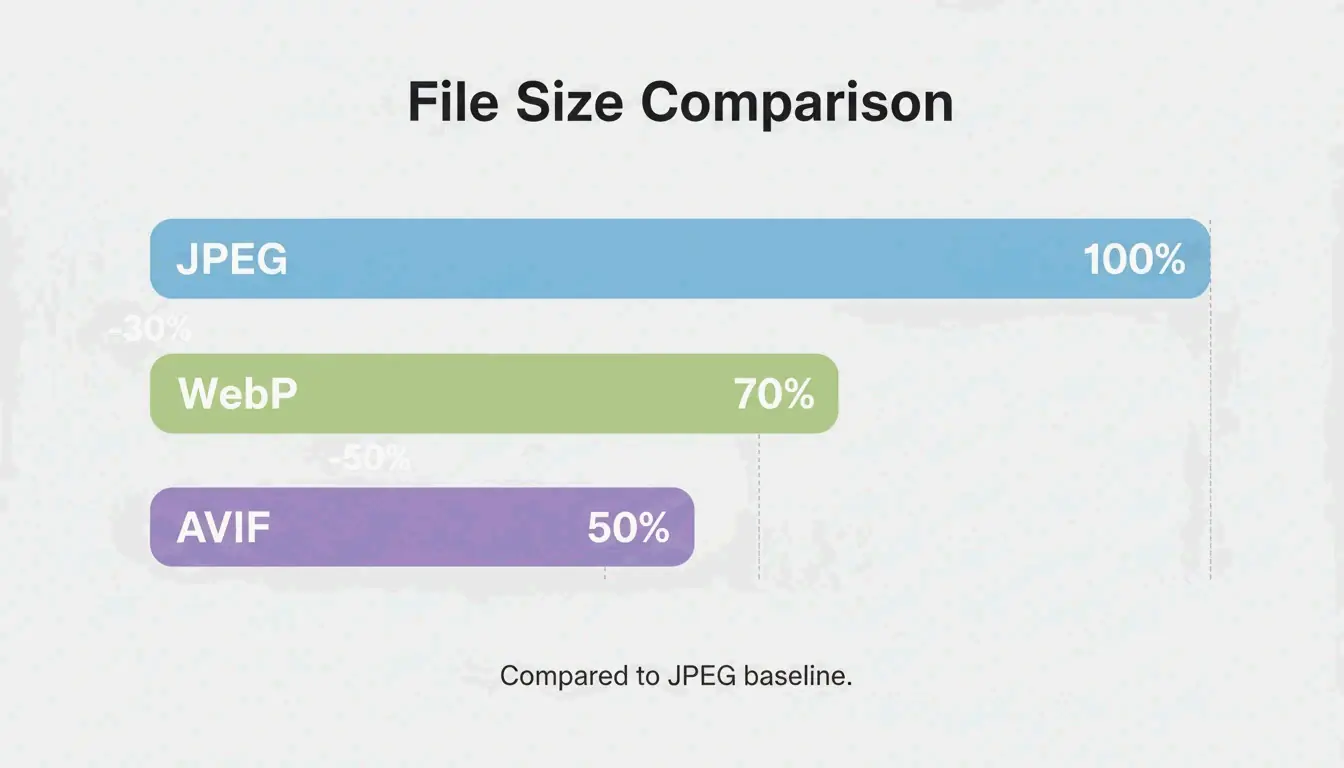
    Format comparison: JPEG vs WebP vs AVIF file sizes

    Format Size vs. JPEG Browser Support (2026) Best For
    WebP 25-34% smaller 97%+ General web use, LCP images
    AVIF Up to 50% smaller 92%+ Maximum compression
    JPEG Baseline 100% Universal fallback

    Data from Google Developers confirms WebP is 25-34% smaller than JPEG at equivalent quality. AVIF pushes further with up to 50% better compression.

    Also strip non-essential EXIF metadata (GPS, camera settings, timestamps) — saves 5-50 KB per file and protects privacy.

    Lossy vs. Lossless: When to Use Each

    Mode How It Works Savings Use For
    Lossless (PNG, OptiPNG) Preserves every pixel 5-30% Logos, icons, text screenshots, sharp edges
    Lossy (JPEG, WebP, AVIF) Removes imperceptible data 50-80% Photos, hero images, product shots

    For web photographs and complex images, lossy at 75-85% quality is the standard. For logos and text-heavy graphics, use lossless to preserve sharpness.

    SEO Impact: Core Web Vitals and LCP

    Google’s Core Web Vitals use Largest Contentful Paint (LCP) as a ranking signal. Images account for approximately 70% of all LCP elements (web.dev).

    Metric Impact
    53% of mobile users leave if load exceeds 3 seconds Bounce rate directly tied to image weight
    LCP threshold: 2.5 seconds Heavy hero images are the #1 cause of failure
    Page speed is a confirmed ranking factor Optimized images = higher search position

    Quality Verification Checklist

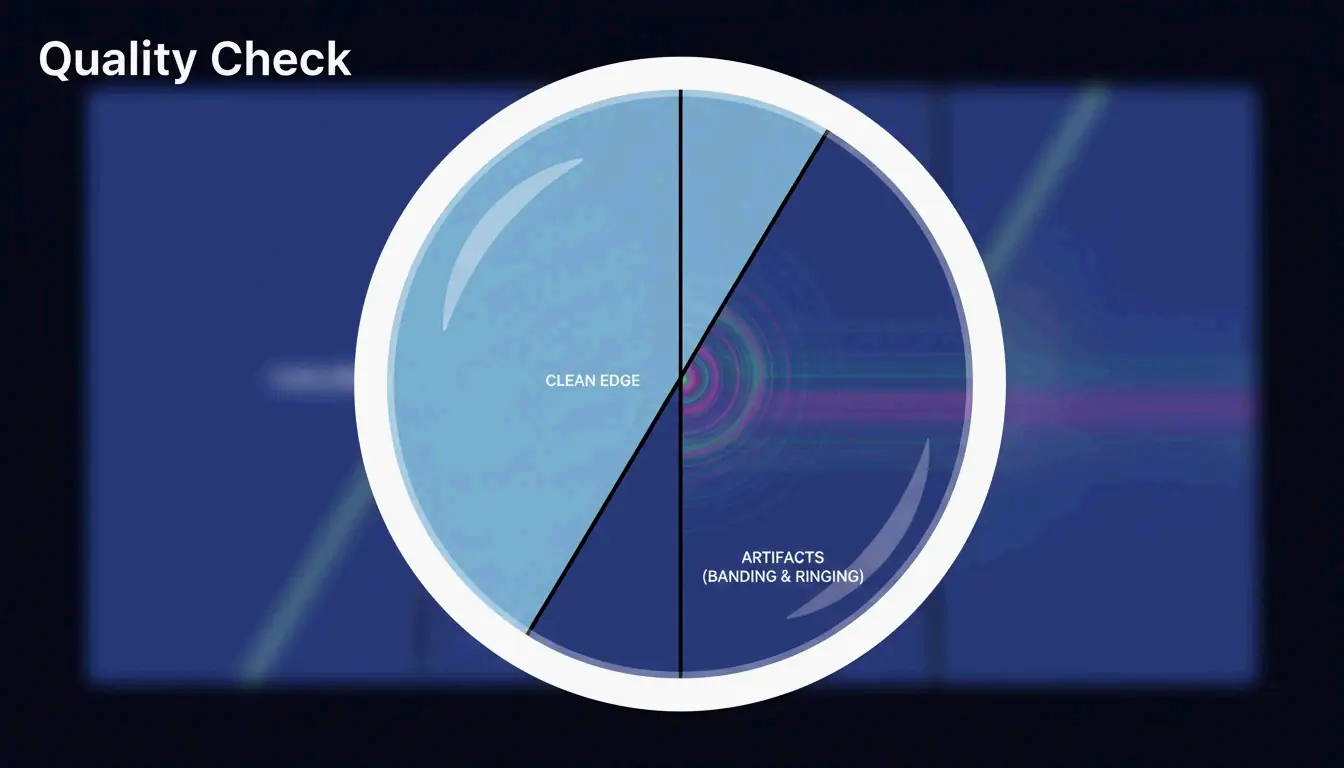
    After compression, zoom to 100% and check for three artifacts:

    Artifact What to Look For Cause
    Banding Stepped color transitions in gradients (e.g., sky) Quality set too low
    Ringing Halos around text or high-contrast edges Over-compression
    Softness Fine details (hair, fabric) turned to blur Excessive lossy reduction

    Visual quality check: focus on detail

    For privacy-conscious workflows, tools like Pixotter and SammaPix use WebAssembly (WASM) for in-browser processing — files never leave your device.

    Conclusion

    Compress images in three steps: resize to display width, apply lossy at 75-85% quality, convert to WebP or AVIF. This workflow delivers up to 90% size reduction with no visible quality loss. Audit your 10 most visited pages — convert hero images to AVIF and target under 200 KB per file.

    FAQ

    Can I compress a PNG without losing any data?

    Yes. Tools like OptiPNG and oxipng optimize the internal DEFLATE algorithm and strip metadata without altering pixels. Savings are modest (5-20%) compared to lossy methods, but pixel-perfect fidelity is preserved.

    Does image compression affect SEO rankings?

    Yes. Page speed is a confirmed Google ranking factor. Images are typically the heaviest page elements. Optimized images improve LCP scores, which directly impacts Core Web Vitals performance and search visibility.

    Is it safe to upload personal photos to online compression tools?

    Use tools with client-side WASM processing — compression happens in your browser, files never touch a server. If using a server-side tool, verify the service deletes files immediately after processing.